Vegan Lemon Tart
Published: March 16, 2021
Modified: April 2, 2023
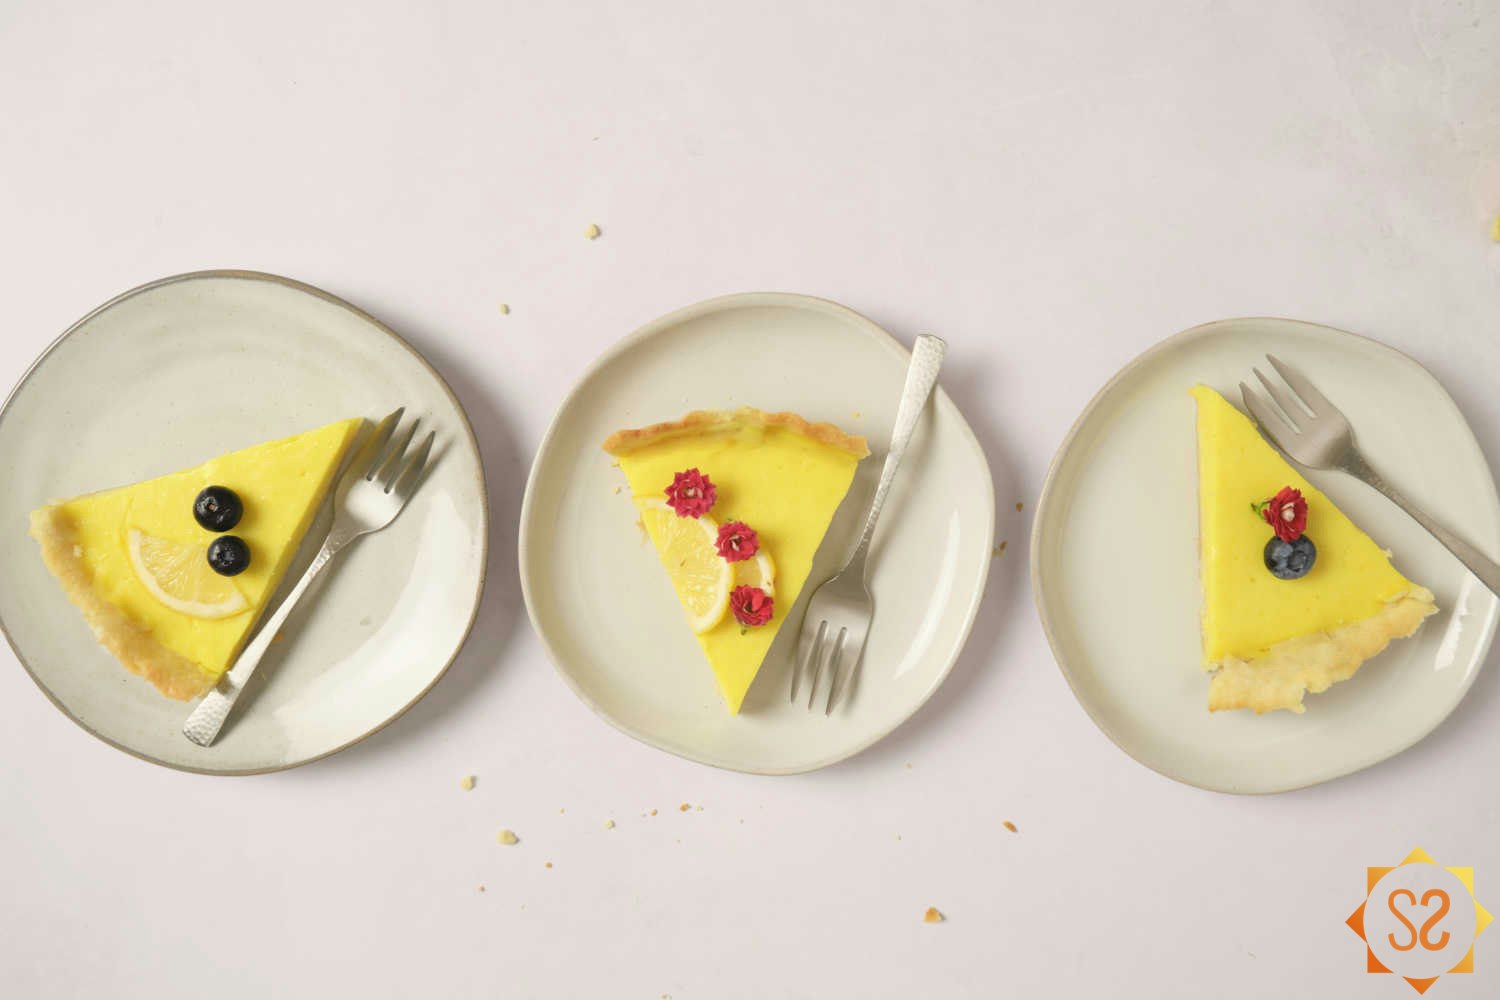
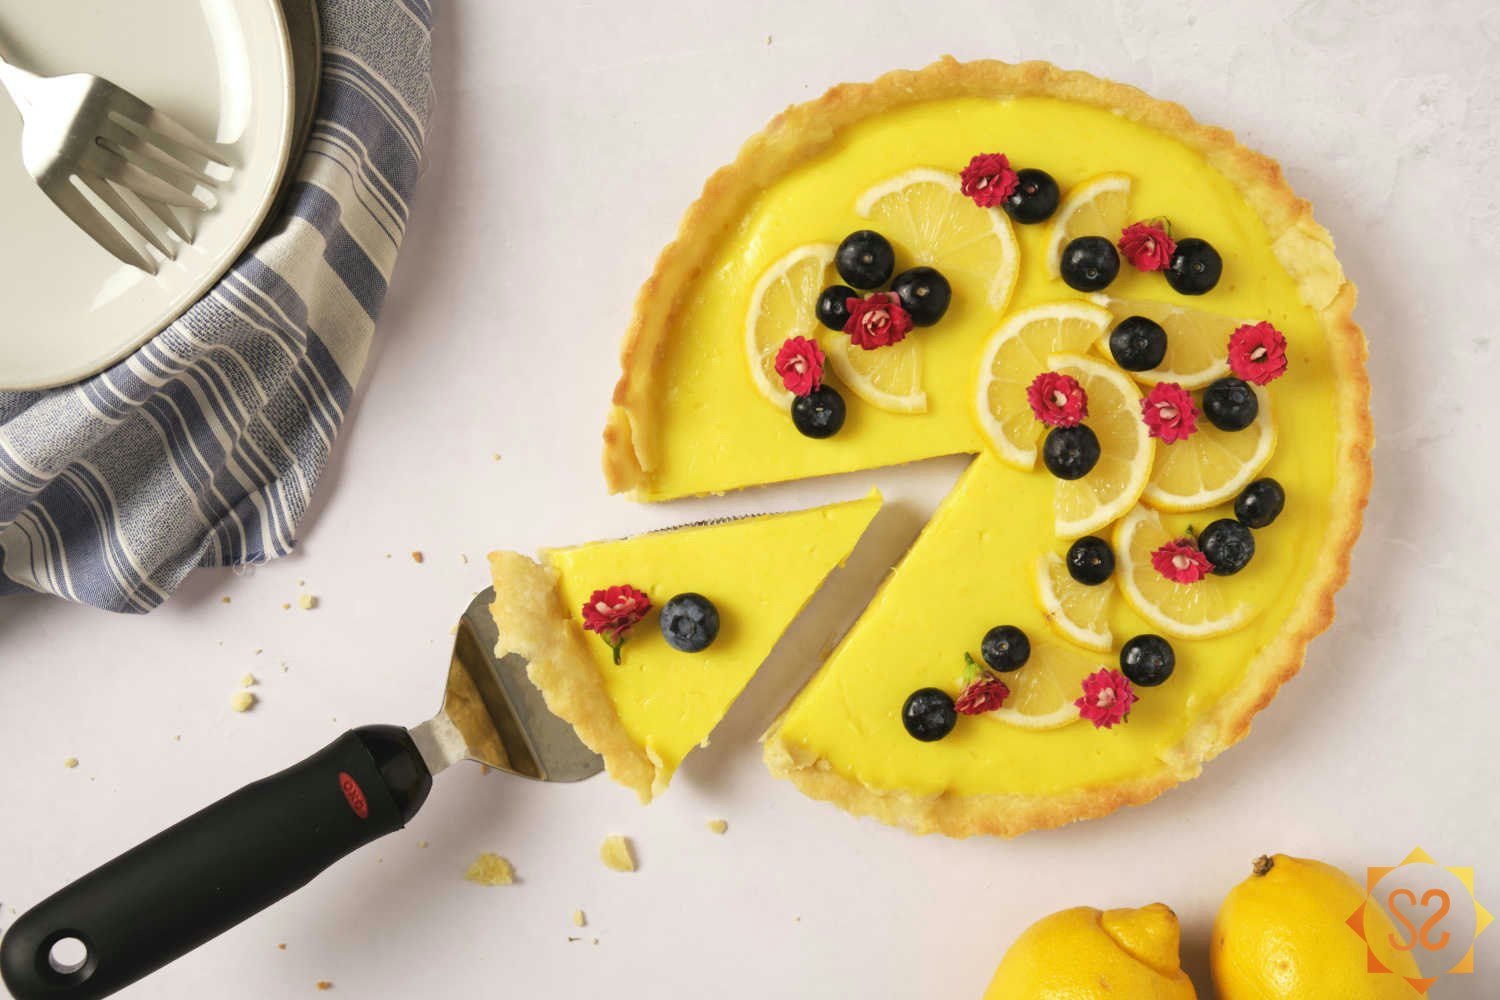
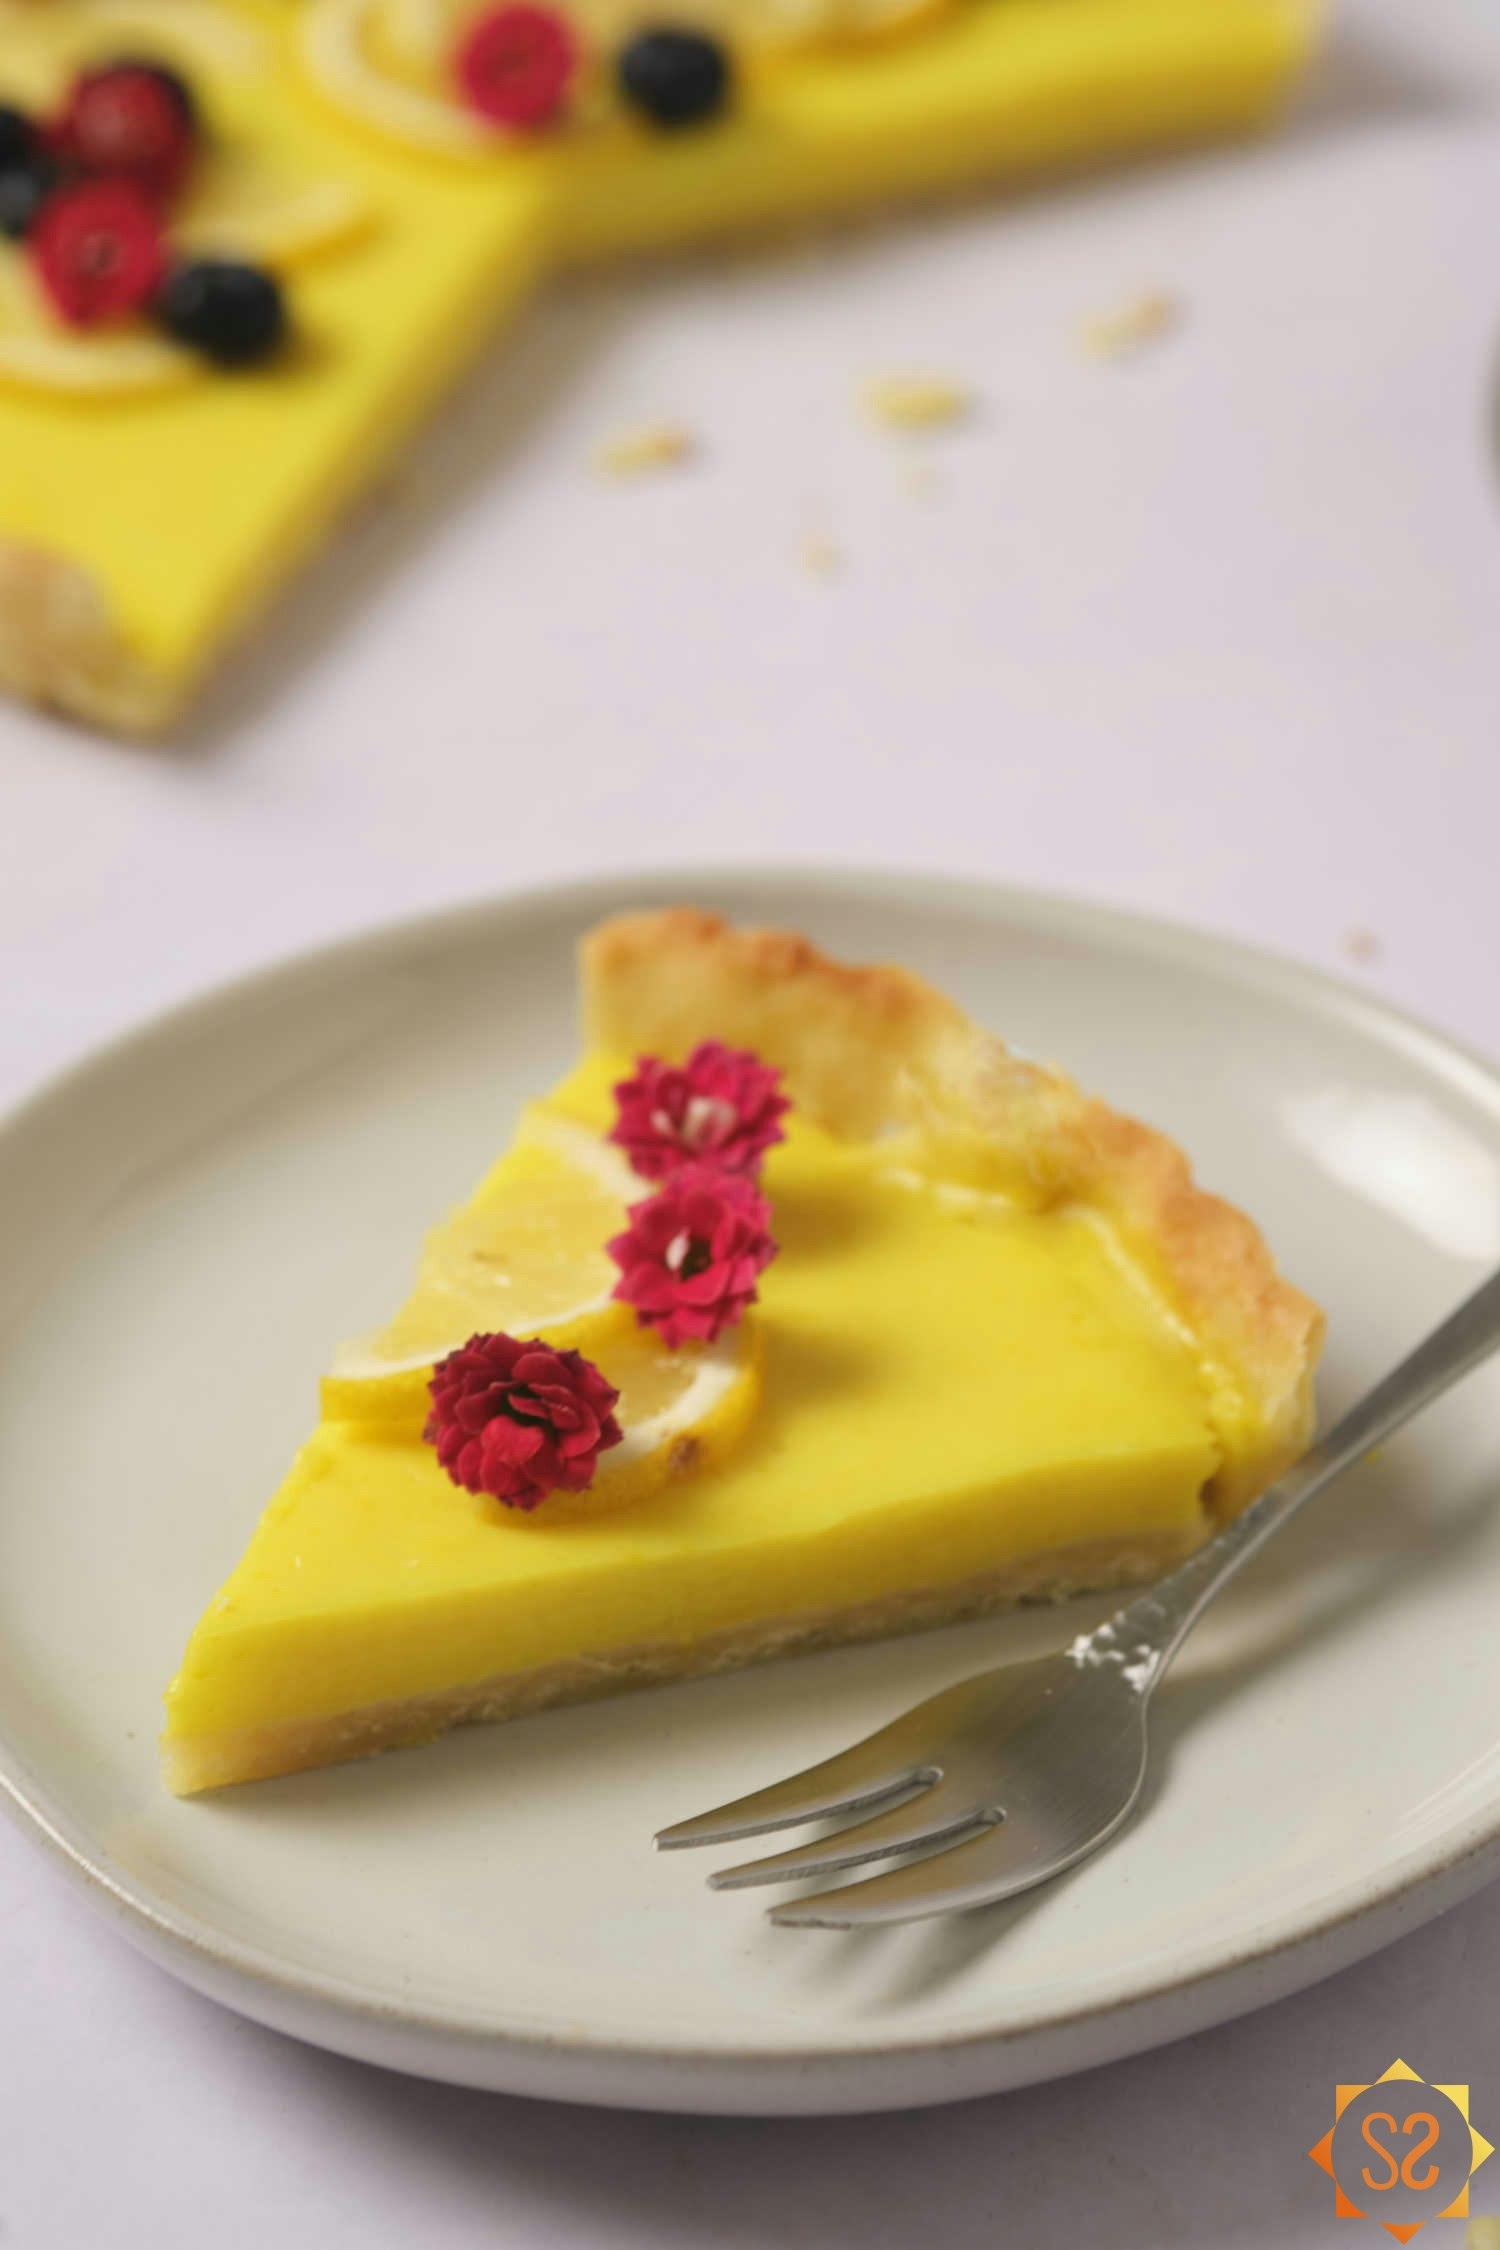
This delicious vegan lemon tart (tarte au citron in French) is the perfect light, tangy, and refreshing treat for spring and summer. Its slightly sweet classic shortcrust (pâte brisée) is filled with a creamy lemon curd filling that everyone will love!

Tarte au citron (lemon tart) is a classic French dessert made with tangy lemon curd wrapped up in a flakey crust. Although this lemon tart recipe tastes like the classic, it is actually made without the traditional eggs and butter: it's completely vegan!
With only 255 calories and 9 grams of sugar per slice, you can feel good about indulging in this sweet treat. So invite some friends, brew some tea, and enjoy a bite of sunshine!
What Makes this Recipe Shine
This vegan lemon tart is instantly a favorite with everyone who tries it because it's:
simple to make
made with fresh ingredients
tangy
not too sugary
light and airy
beautiful
Ingredients and Substitutions
Pâte Brisée
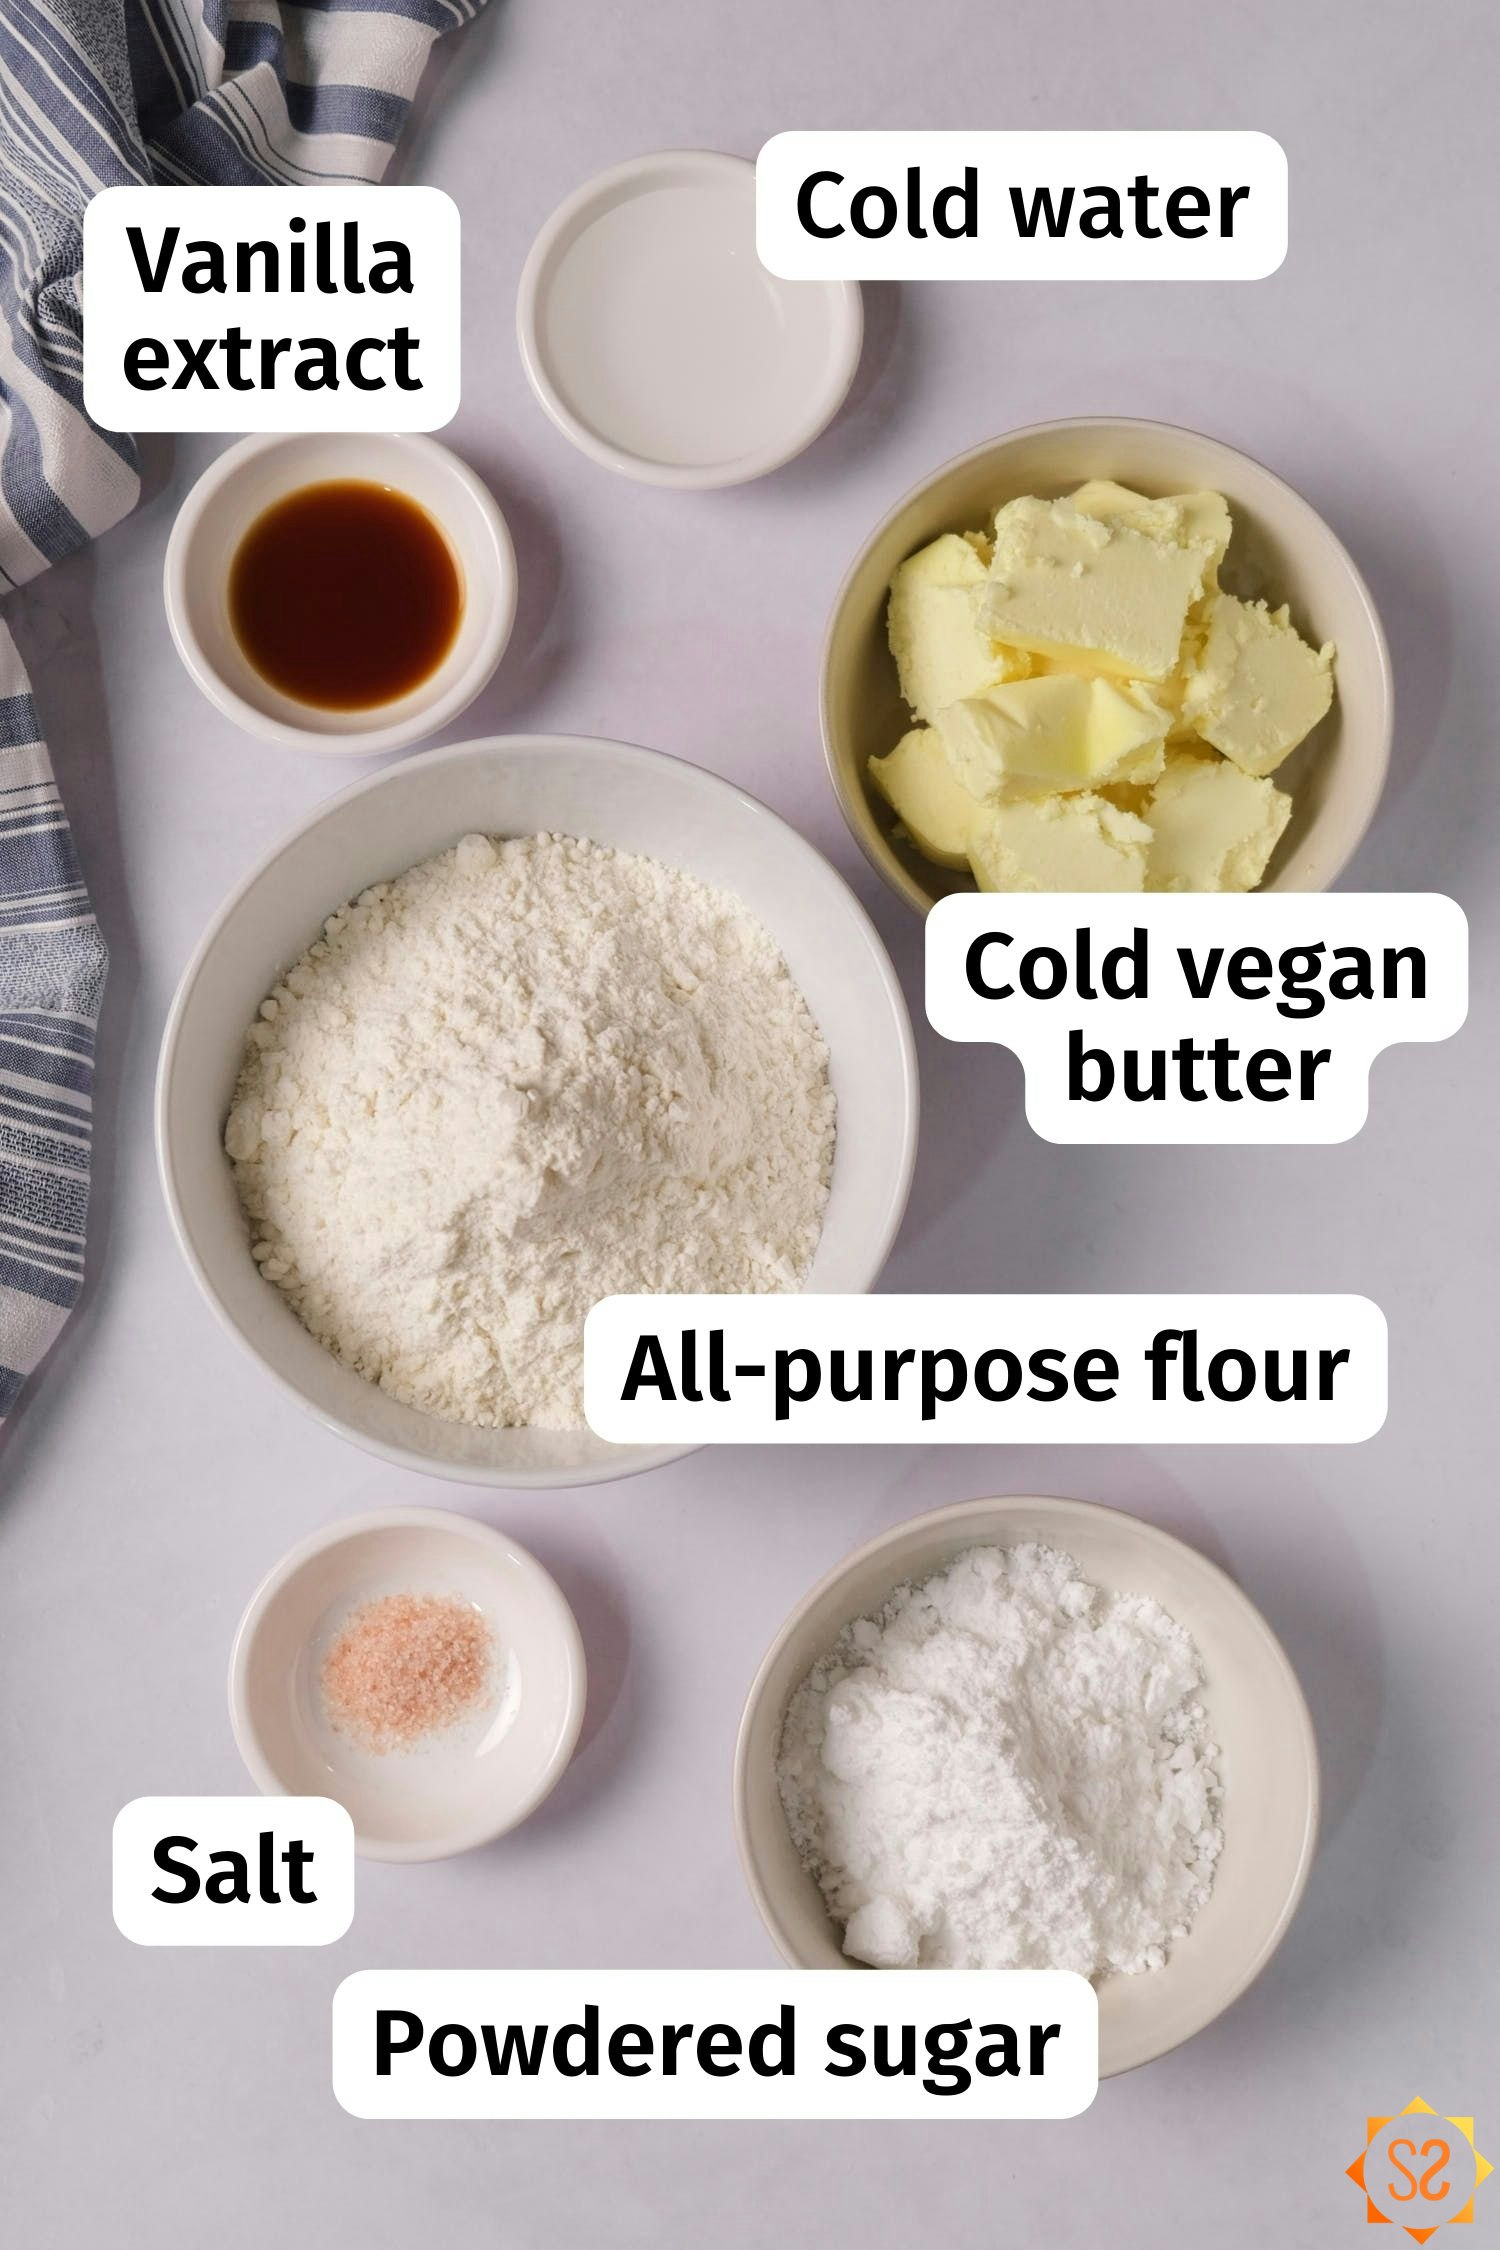
All-purpose flour: The base of our shortcrust; I recommend switching to the metric measurements and weighing your flour if possible for the most accurate measurements. Although this recipe may work with other types of flour, I haven't tested them so I can't recommend any other types.
Powdered sugar: (Also known as icing sugar or confectioner's sugar) Adds a bit of sweetness to the crust. Since some sugar in the US is filtered using animal bone char, be sure to look for a vegan brand. Organic sugars are all vegan if you're not sure about a particular brand. If you can't get powdered sugar in your area, you can put 1 cup of granulated white sugar with 1 tablespoon of cornstarch in a blender and blend on medium-to-high speed until it's a powdered consistency, similar to flour.
Salt: Table salt, sea salt, or pink salt will all work as long as it's not too coarse.
Vegan butter sticks: Avoid vegan butter spread, since it's very soft and your crust won't hold together well. To make it easier to combine into the dough, cut your butter into small pieces before mixing it in. You should also make sure your vegan butter is cold (refrigerator temperature) so it doesn't get too soft as you mix the dough. I used Earth Balance sticks for this recipe, but most vegan butter sticks should work, including homemade versions. If vegan butter is unavailable in your area, or unreasonably priced, try my homemade vegan butter recipe.
Water: Adds moisture to the dough. Be sure to use cold water so your dough doesn't get too soft.
Vanilla extract: Used for flavor. I recommend using pure vanilla extract instead of artificial vanilla flavor for the best taste.
Spray oil: Used to spray the aluminum foil to keep it from sticking to the crust during baking. You can also use regular liquid oil and brush it lightly onto the aluminum foil.
Lemon Curd
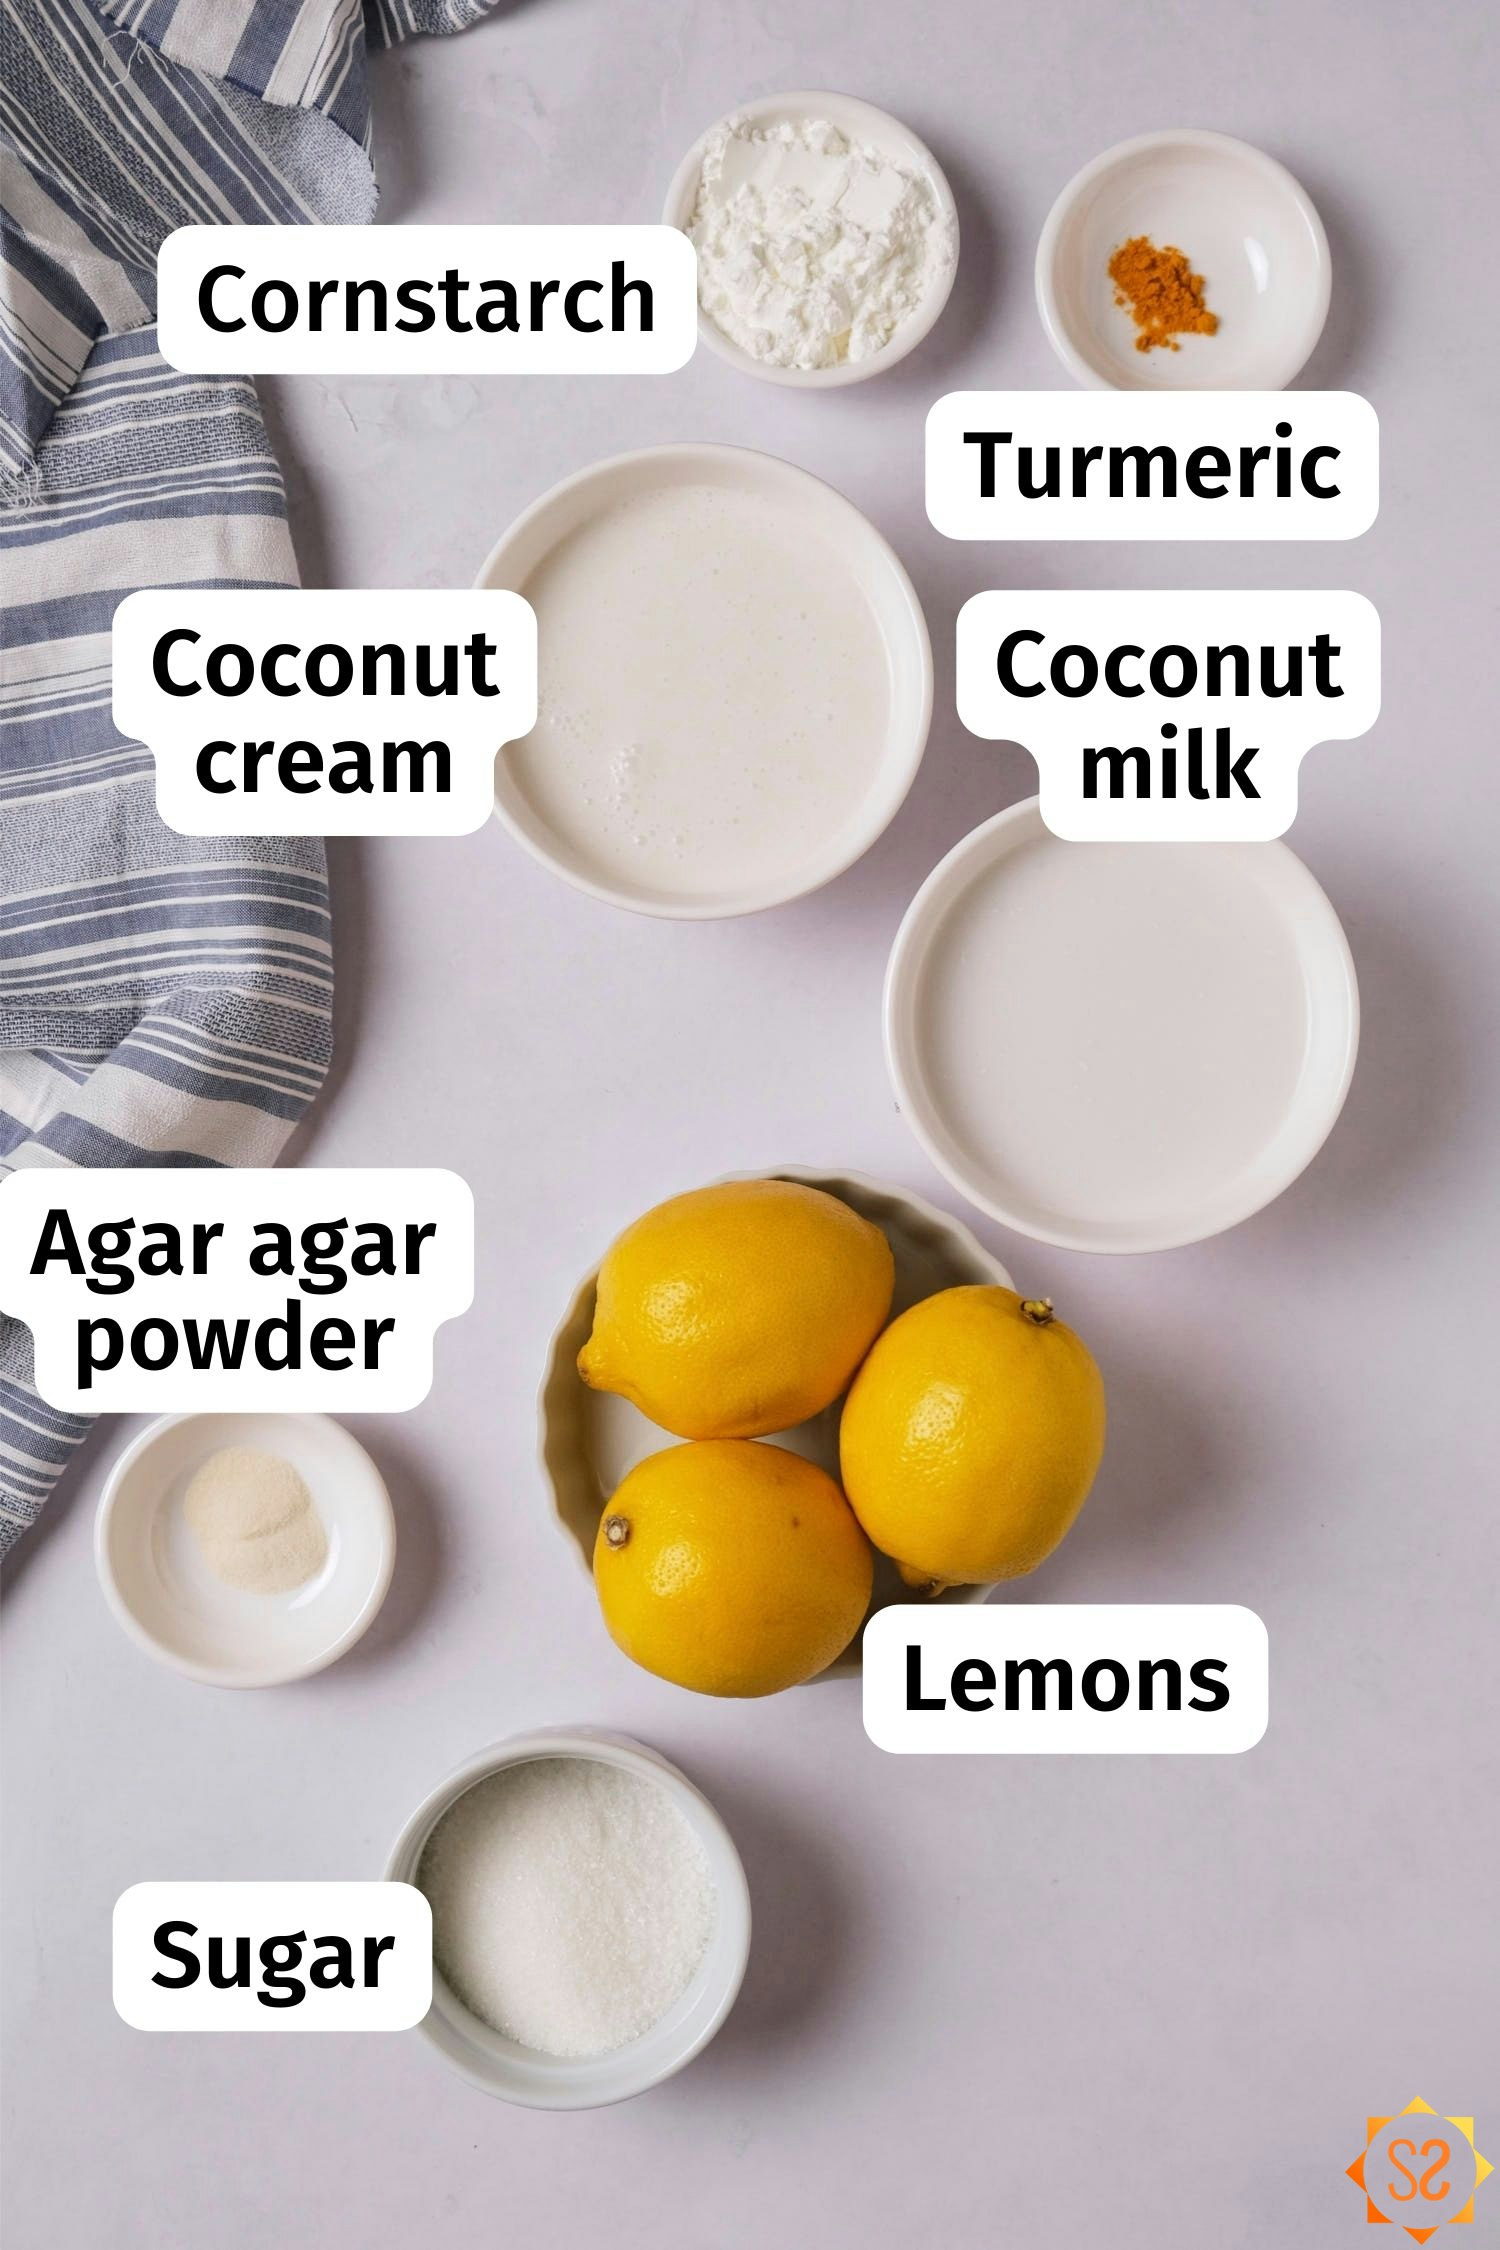
Full-fat canned coconut milk: Together with the coconut cream, provides a base for the filling. Be sure to use a full-fat version (not a light or low-fat version).
Unsweetened canned coconut cream: Thickens the coconut milk to provide a base for the filling. Be sure not to use a sweetened version. Latin brands of coconut cream such as Goya and Iberia have a lot of added sugar and won't work in this recipe. Thai Kitchen, Native Forest, 365 brand, and Trader Joe's all have unsweetened coconut cream that is perfect.
Granulated sugar: Since some sugar in the US is filtered using animal bone char, be sure to look for a vegan brand. Organic sugars are all vegan if you're not sure about a particular brand.
Lemon juice: I recommend using freshly squeezed juice, but you can also use bottled juice if you need to.
Lemon zest: Adds extra tanginess to the lemon curd; see the frequently asked questions below for how to zest a lemon. (If you're using bottled juice and not fresh lemons, you can leave out the lemon zest, but your flavor won't be as strong).
Cornstarch: Thickens the filling into a solid layer when it's heated. Since the amount of cornstarch in a cup can vary widely, I recommend weighing your cornstarch using the weight provided in the metric measurements below. I haven't tested substitutions, but you can try arrowroot powder or tapioca starch if you can't get cornstarch.
Turmeric powder: This is totally optional and just for color. You can usually find this together with other dried ground spices in your local grocery store. I recommend starting with a small pinch and adding more if you need it. Keep in mind that the color will develop as it cooks, so don't judge the color before you've heated the lemon curd filling.
Agar agar powder: Like cornstarch, agar agar also helps to thicken the filling and is activated by heat. Agar is an ingredient derived from red algae that is similar to gelatin. (If you're looking for agar in the supermarket, I found it in the Asian section at my local store.) You can also use agar agar flakes, but you'll need to increase the amount from 1/2 tsp. to 1/2 tbsp.
Tools and Equipment You'll Need
Pie weights or dry rice or beans: Since the filling doesn't need to be baked, the crust will be blind-baked (in other words, baked empty, without the filling). If the crust isn't weighed down, it will expand upwards and inwards during baking, leaving little room for the lemon curd filling. Adding oven-safe weight to the crust will prevent this expansion. You can buy pie weights, but I typically use dry rice, since it's cheaper and can be reused.
Aluminum foil: To protect the pâte brisée crust from the weights we'll add during baking.
9-inch (23-cm) tart pan: Tart crusts get their signature shape from fluted tart tins. I had good results with the Wilton pans with removable bottoms. The crust came out of the pan very easily and cleanup was simple. You could also use another type of 9-inch pie pan if desired. This recipe can also be adapted to 4.75-inch (12-cm) tartlet pans. Please read the variation section below for instructions and measurement conversions.
Wire rack: for cooling the crust.
Baking tray: for easy transfer to the refrigerator.
Microplane zester or box grater: for zesting lemons. If using a box grater, use the smallest holes on the grater. Check the frequently asked questions below for instructions on how to zest a lemon.
Citrus juicer: for juicing the lemons, any type will work.
Whisk: this is the best tool to use for mixing the filling to ensure that all the ingredients get fully dissolved. If you use another tool, you may end up with clumps.
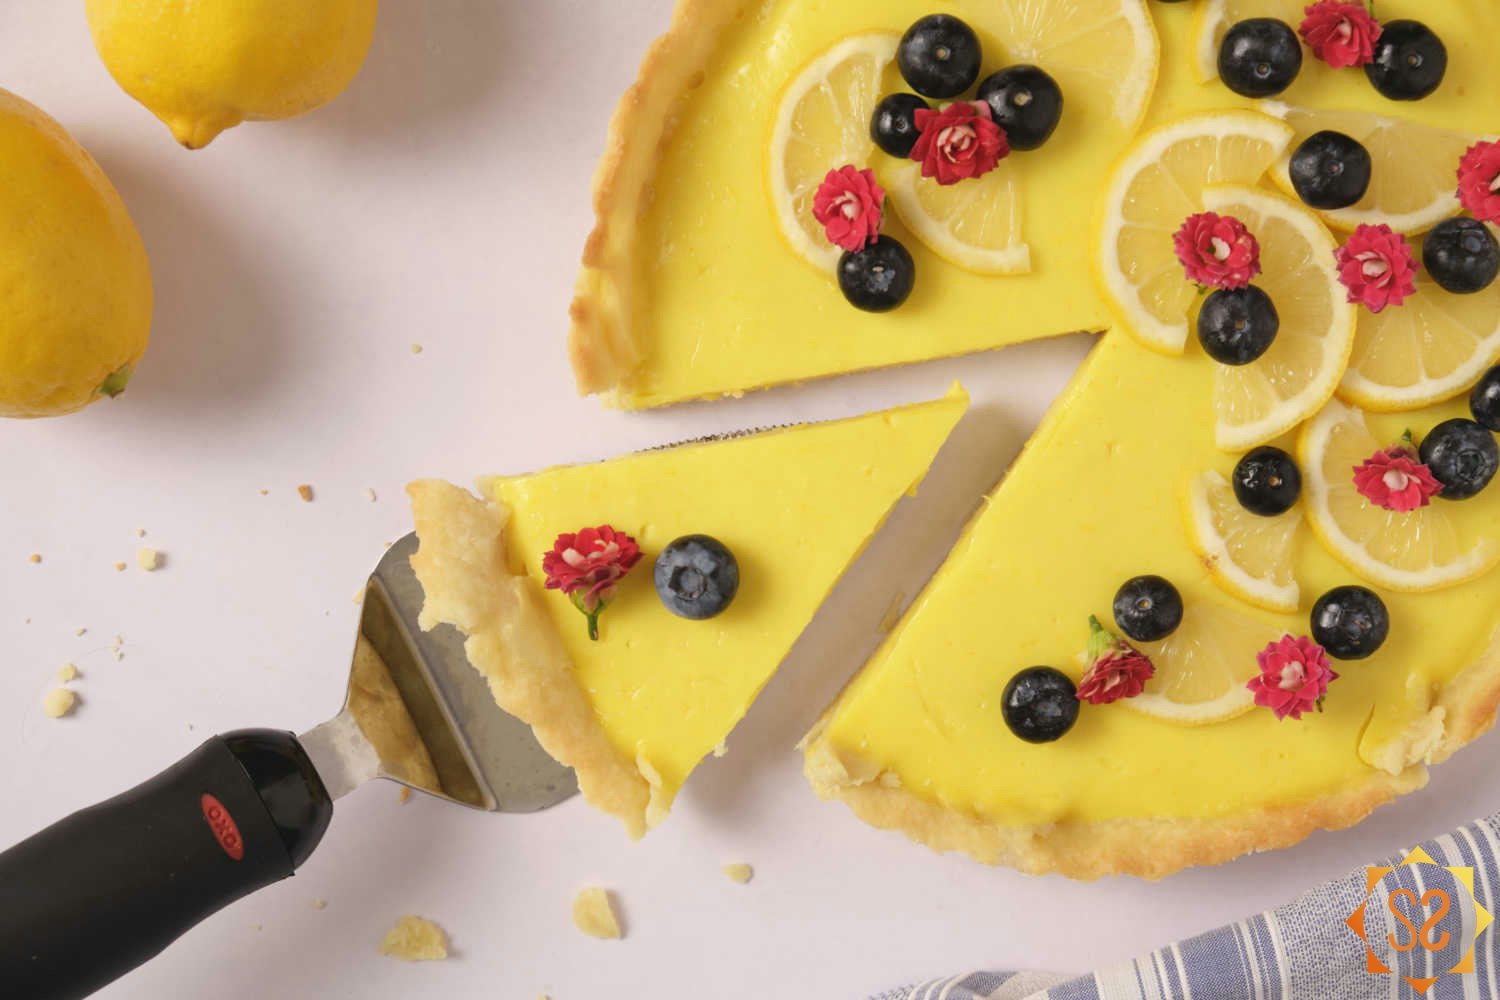
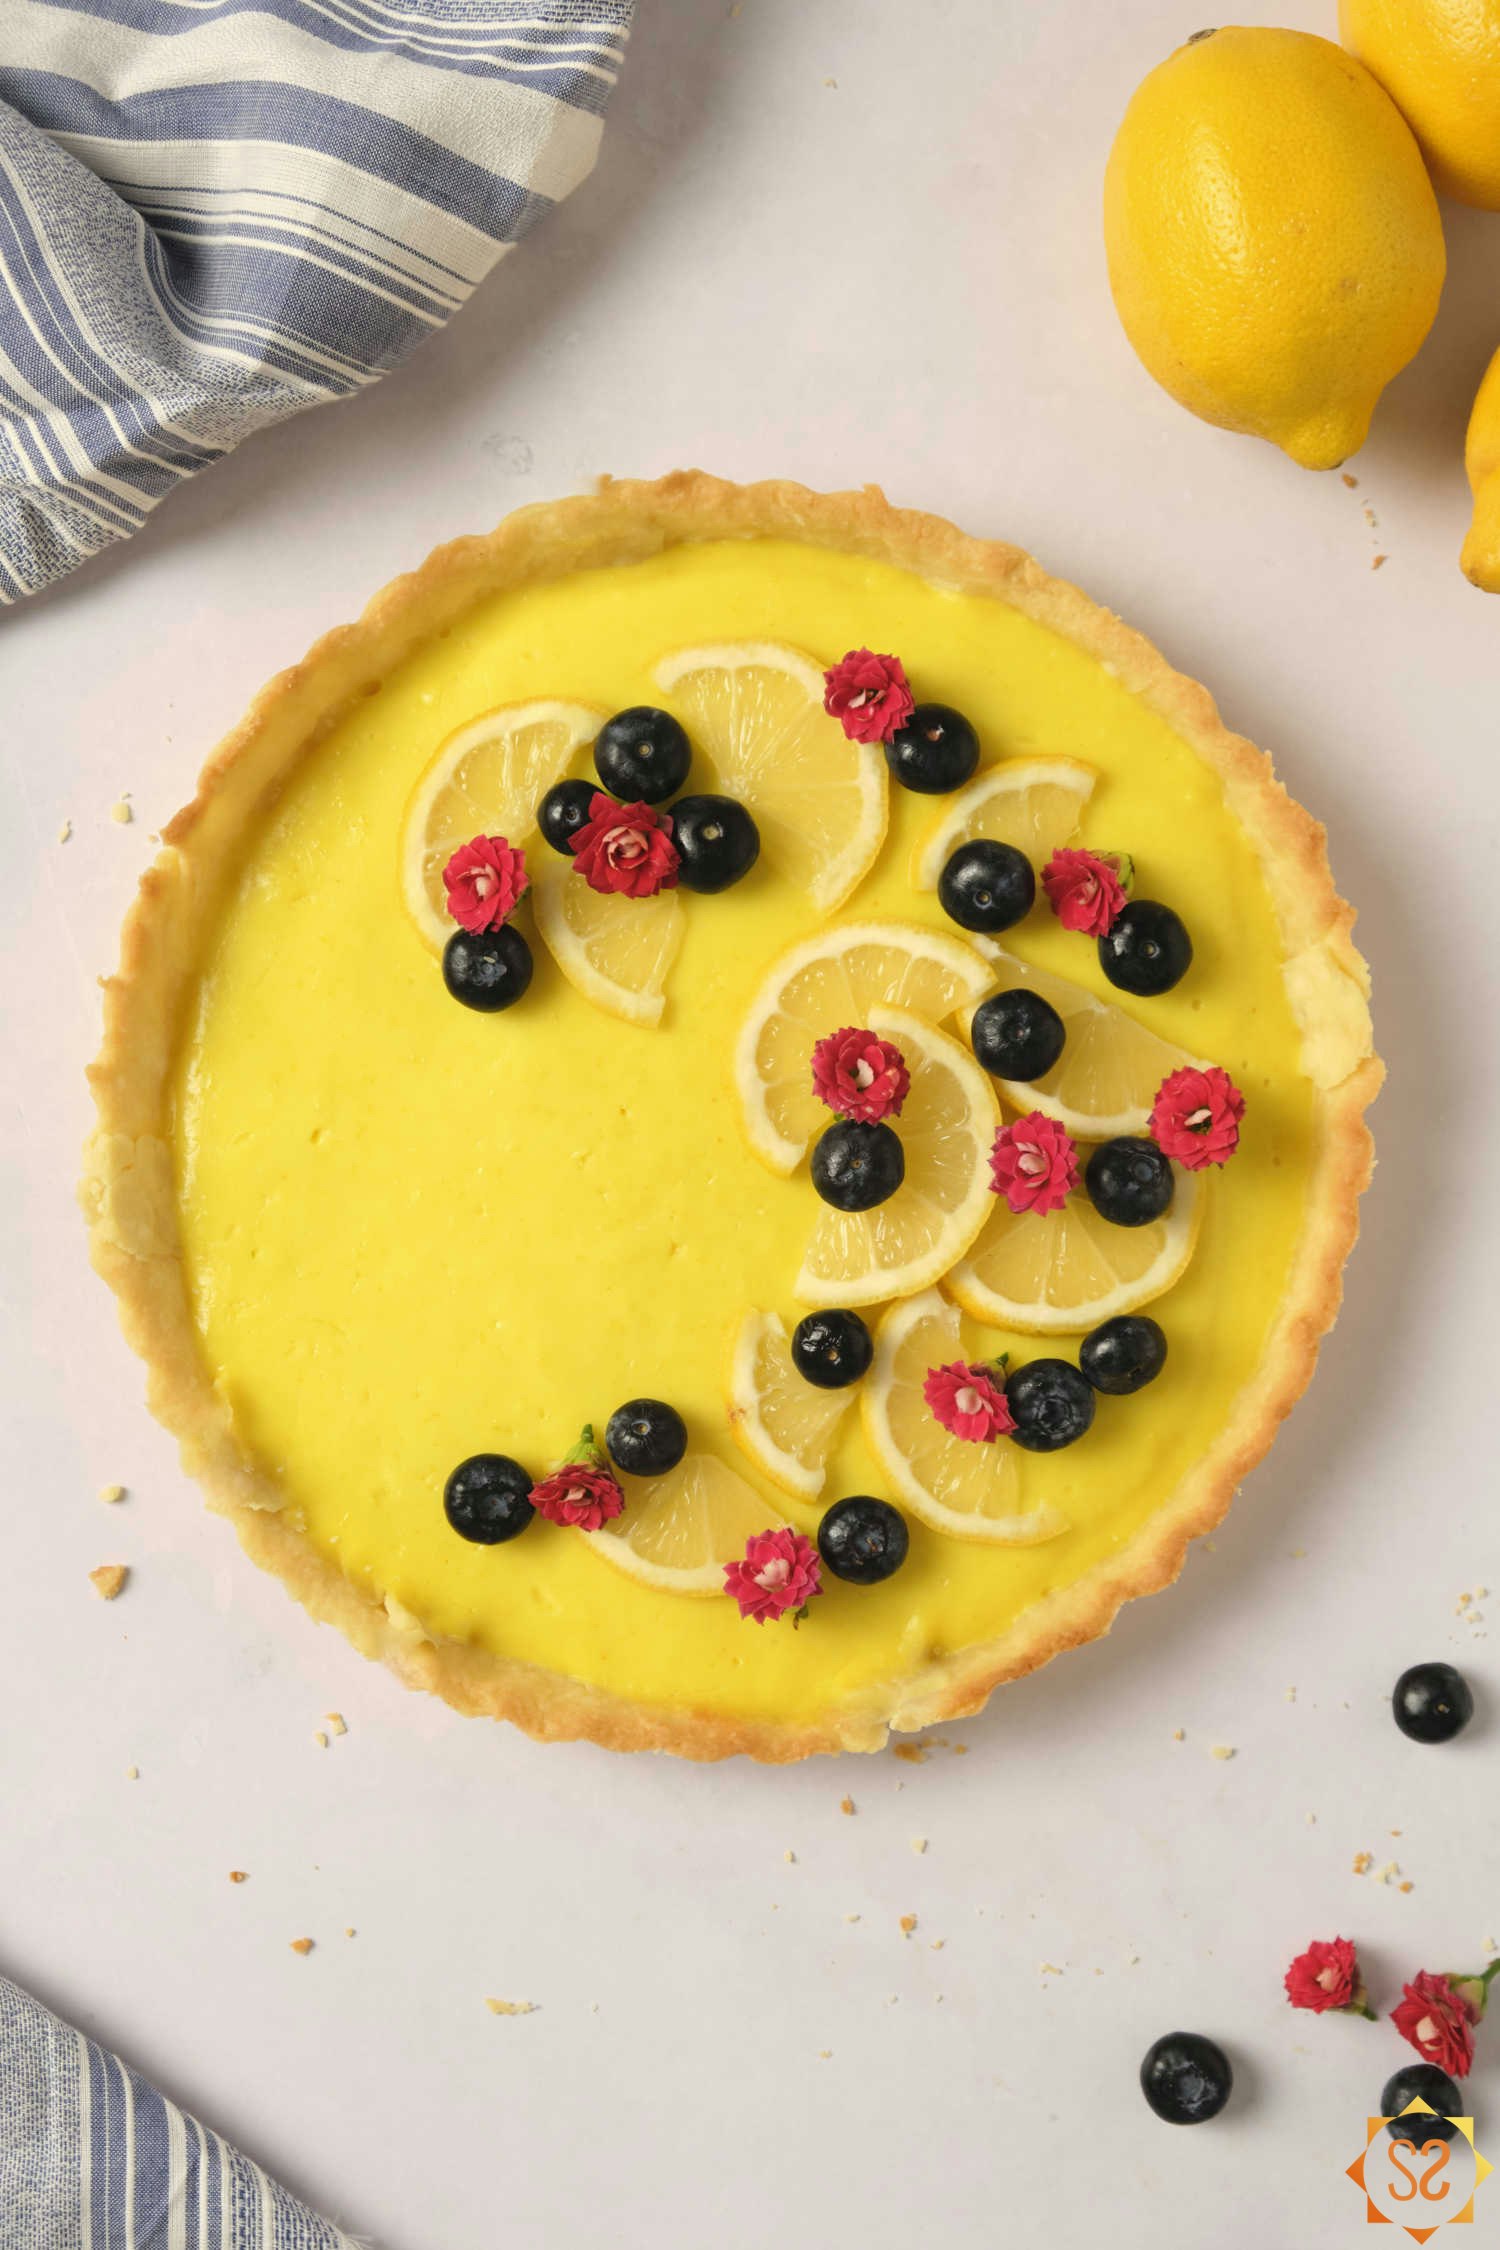
Garnish Suggestions
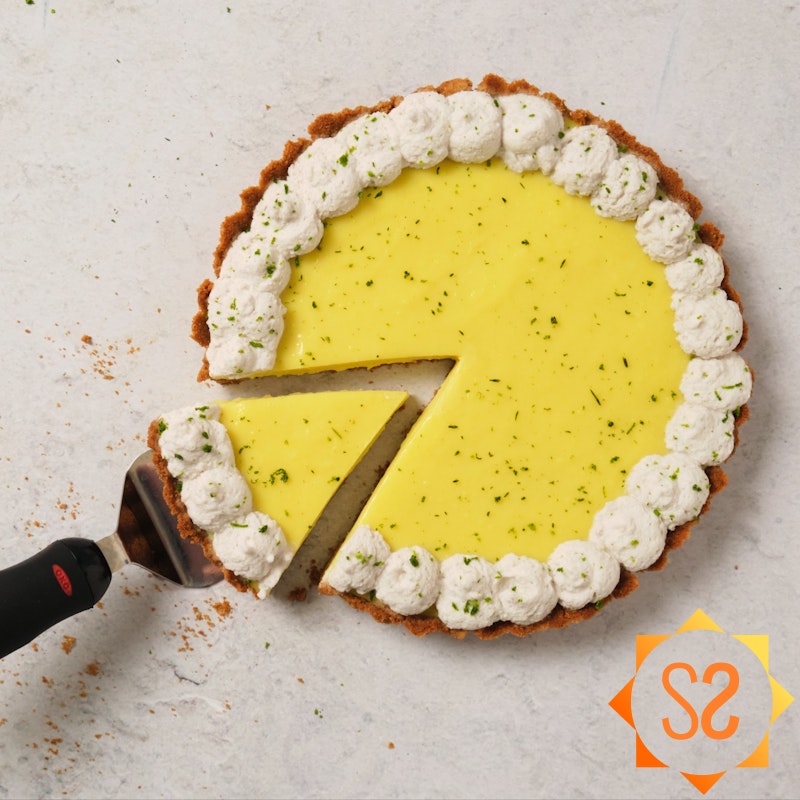
We all know we eat with our eyes first. If you want to turn your vegan lemon tart into a head-turning show-stopper, try adding one or several of these garnishes:
Vegan whipped cream
Edible flowers
Blueberries, raspberries, blackberries, or sliced strawberries
Thin lemon slices
Aquafaba meringue
Mint leaves
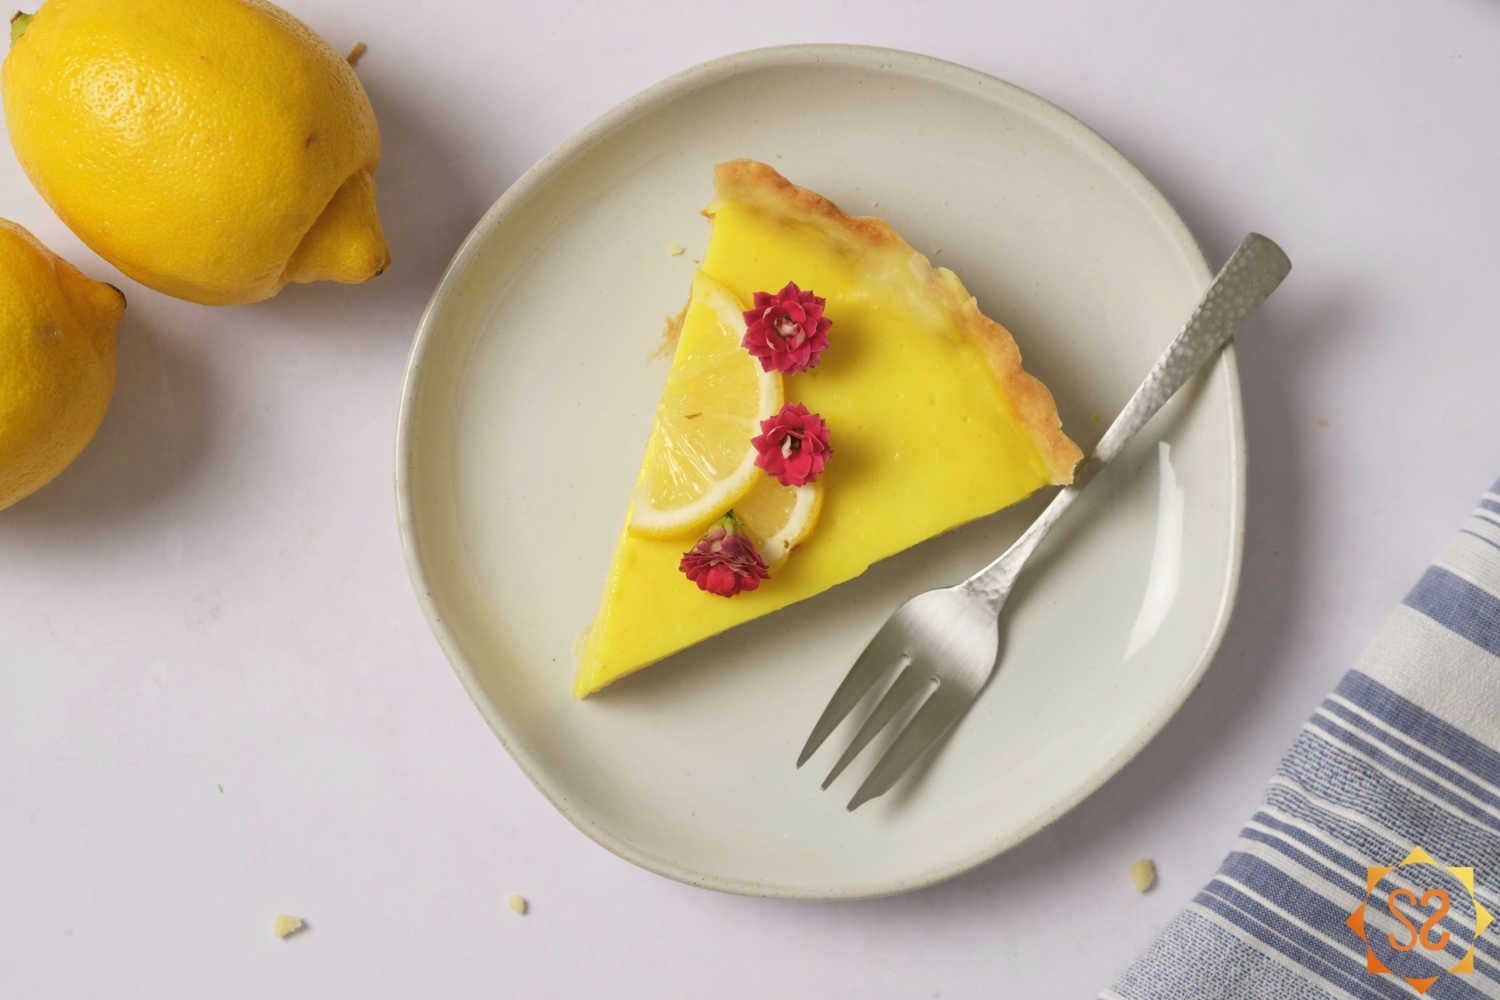
Steph's Tips for Perfect Results
Flour and cornstarch are both notorious for being hard to measure precisely with cups. Turn on the metric measurements and weigh these ingredients for best results.
Take the extra minute to make sure your cornstarch is fully dissolved in the lemon curd filling before you turn on the heat. A whisk is the perfect tool for mixing this lemon curd. Any clumps that remain when the filling starts cooking will be solidified clumps after you turn off the heat. If you do end up with clumps in your filling, use a sieve to strain them out before pouring the lemon curd into the crust.
A traditional pâte brisée will be made by cutting in the butter with the fingertips. However most vegan butters soften faster than traditional butter, so I recommend starting out with a fork to keep the dough from getting too soft. Once everything is well mixed, you can use your hands to form the dough at the very end.
Roll your dough gently and carefully place it on top of the pan to avoid breaking the crust. But if your crust breaks, don't worry! You can use the excess dough from the edges to fill in any gaps. If your crust cracks in the oven, you can also use this excess dough to fill the cracks, and put it back in the oven for 5-10 minutes more. If you have already tossed the scraps of dough, just mix up some flour and water into a paste and use that instead.
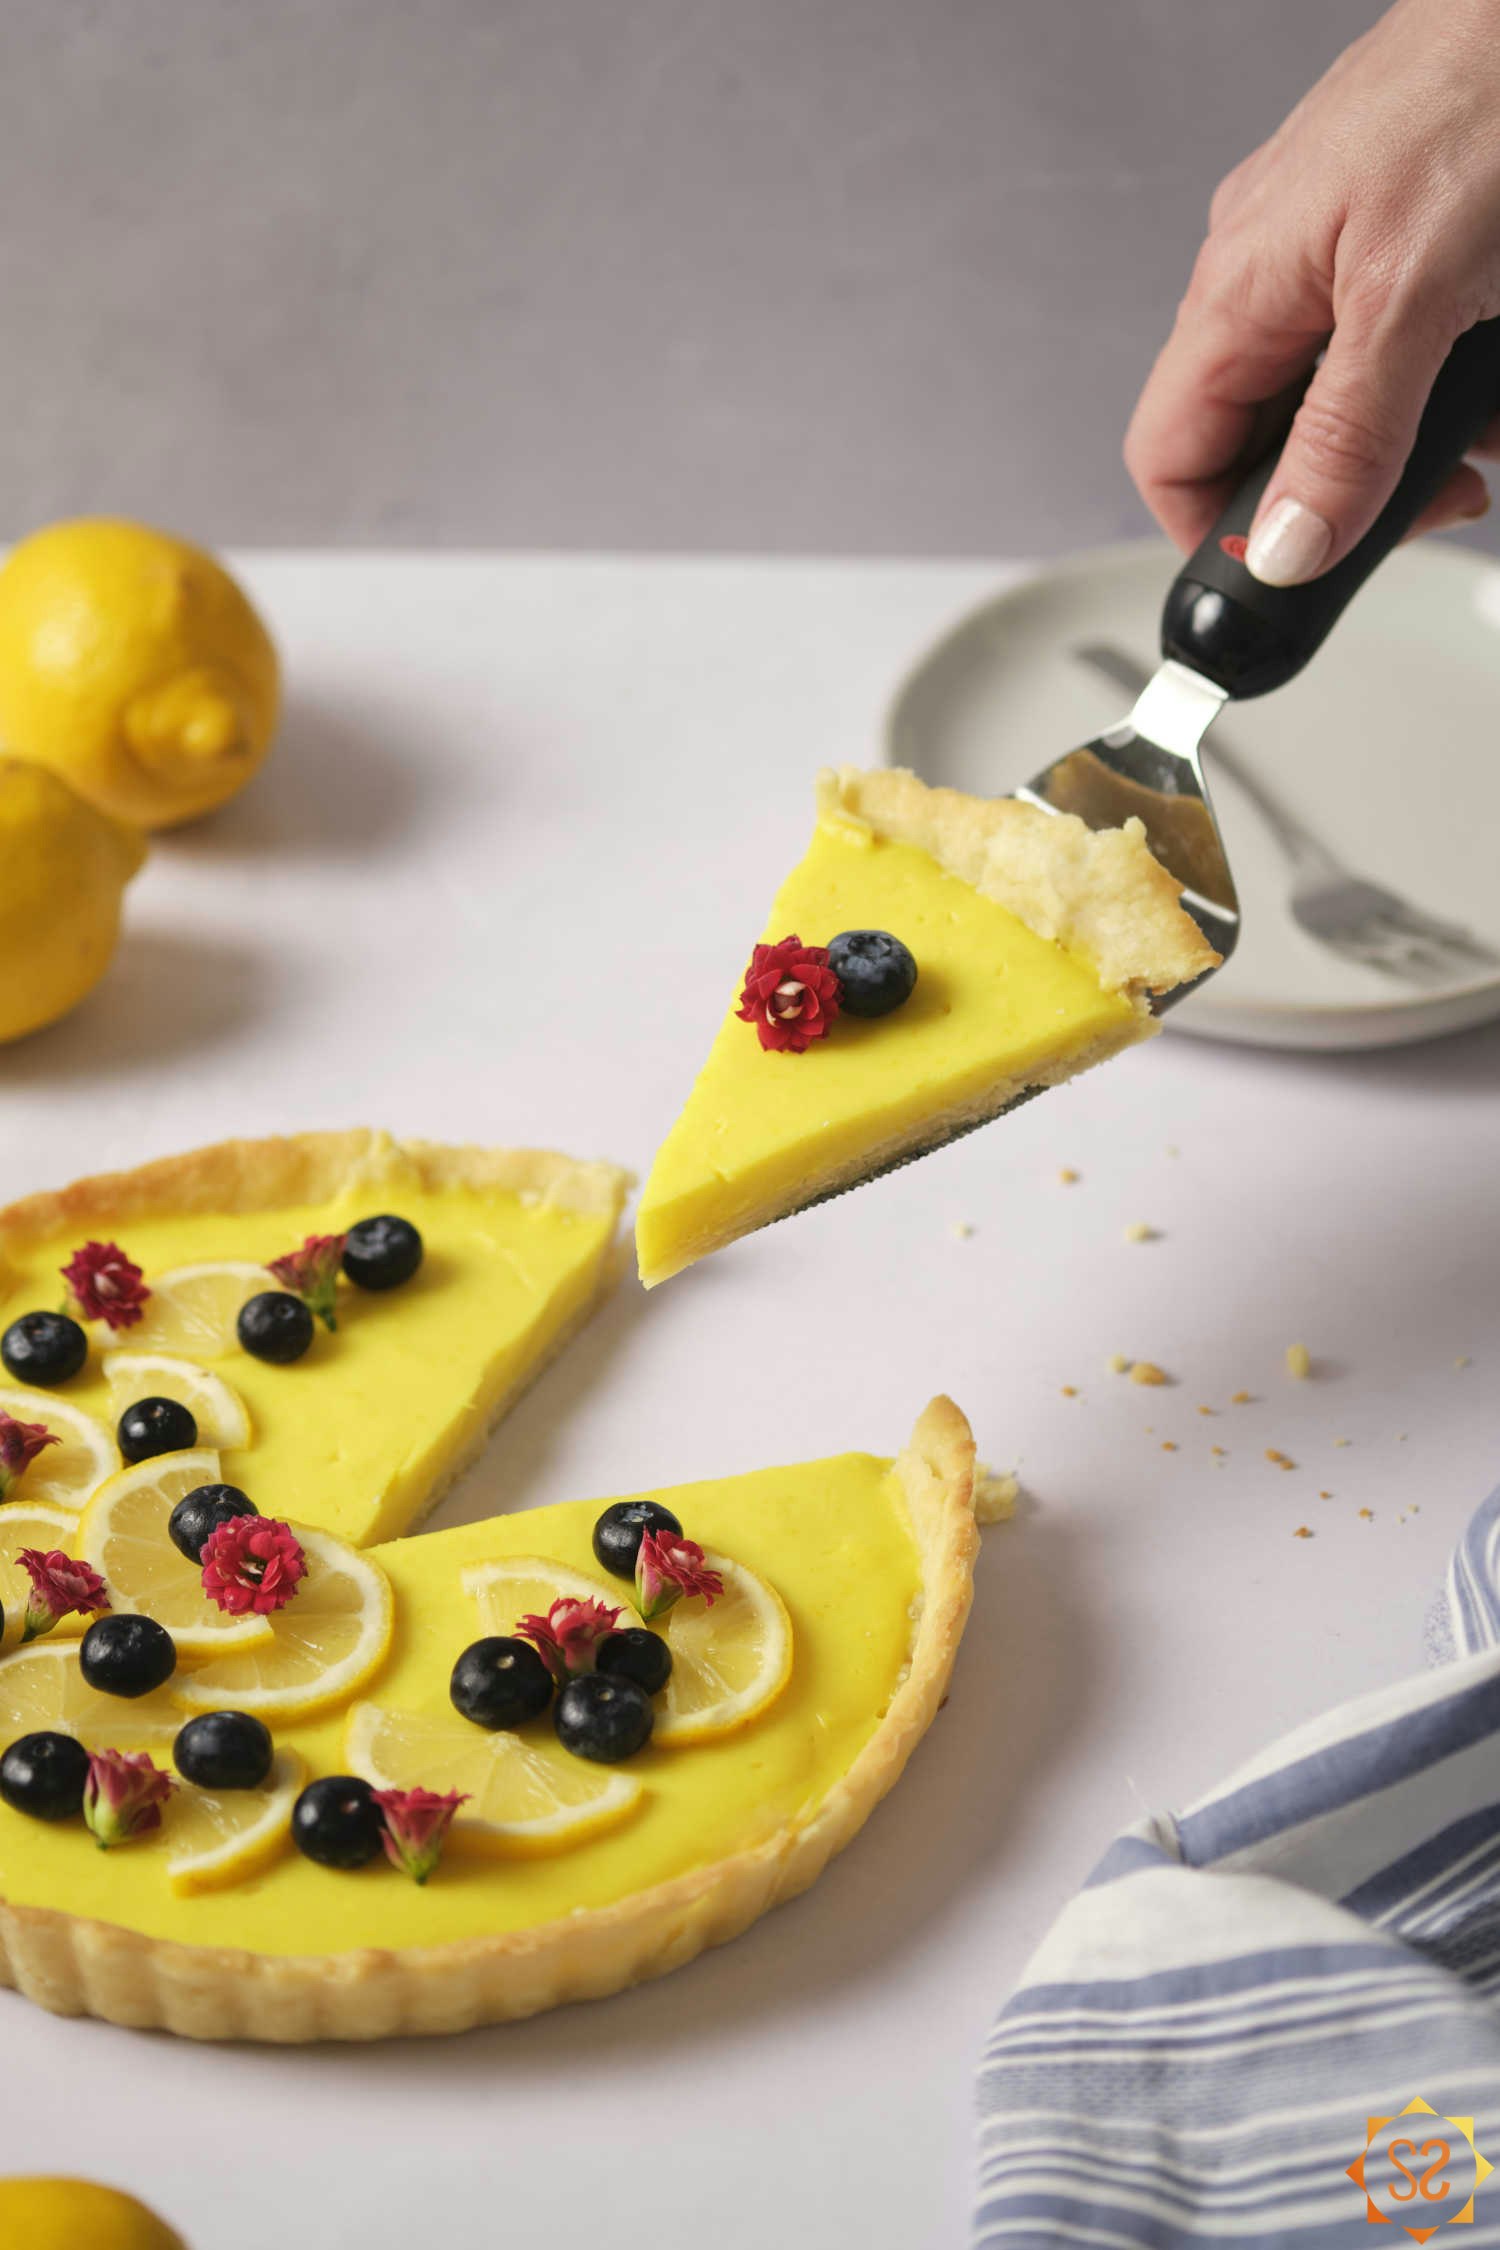
To slice the tart cleanly, run a serrated knife and a paring knife under hot water to warm them. Use the serrated knife to gently slice the edges and filling, then use the paring knife to cut the bottom of the crust. Rinse or wipe the knives clean between each cut.
Variation: Vegan lemon tartlets
This recipe is made for a 9-inch (23-cm) tart pan, but it can also be used to make 4.75-inch (12-cm) tartlets. The crust recipe will make about 4 tartlets as written, but you'll need to reduce the filling recipe by 20%. See the conversion below for the exact filling amounts.
Most of the procedure will be the same as described in the recipe below, but after you form the dough, you should divide it into 4 discs before refrigerating it. Refrigerate the dough for 20 minutes instead of 30. Then roll out each disc individually.
The baking time is approximately the same, just keep an eye on the crusts towards the end to get them to the color you'd like. And the tartlet filling may cool and firm up a little faster than a standard tart.
Conversion for reducing filling for 4 tartlets
124 mL (1/2 cup plus 1 tsp.) full-fat canned coconut milk
124 mL (1/2 cup plus 1 tsp.) unsweetened canned coconut cream
36 g. (3 tbsp.) vegan granulated sugar
60 mL (1/4 cup) freshly squeezed lemon juice
1 1/3 tsp. lemon zest
1 1/2 tbsp. cornstarch
1/2 tsp. agar agar powder (or 1 1/4 tsp. agar agar flakes)
pinch turmeric
FAQ
Can I use only coconut milk or only coconut cream instead of mixing them? It's possible, but the combination of both provides the best texture. Using coconut milk alone results in a filling that's a little bit runny and more Jell-O-like. Using coconut cream alone produces a very thick filling that has a little bit of grittiness to it.
How do I zest a lemon? If your lemons have a wax coating, you should remove that first. Boil a pot of water, then pour the hot water over the lemons and scrub them with a vegetable brush. Use a microplane zester (or the smallest holes on a box grater) to gently scrape the sides of the lemon, only including the bright yellow part of the peel (the zest), not the inner white part (the pith, which is bitter). Be careful to keep your fingers away from the grater.
More Vegan Desserts to Try
Vegan Lemon Tart
Yield1 tart
Prep Time45 minutes
Cook Time30 minutes
Total Time6 hours
Ingredients
Pâte Brisée (Crust)
- 1 1/3 cup all-purpose flour
- 1/4 cup plus 1 tsp. vegan powdered (icing/confectioner's) sugar
- 1/2 tsp. salt
- 7 1/2 tbsp. cold vegan butter stick, cut into small pieces
- 4 tsp. cold water
- 1 tsp. vanilla extract
- Spray oil
Lemon Curd Filling
- 1/2 cup plus 2 1/2 tbsp. canned coconut milk (full-fat), mixed well
- 1/2 cup plus 2 1/2 tbsp. canned unsweetened coconut cream*
- 3 1/2 tbsp. vegan granulated sugar
- 5 tbsp. freshly squeezed lemon juice (2-4 medium lemons)
- 1 3/4 tsp. lemon zest (2-4 medium lemons)
- 2 tbsp. cornstarch
- large pinch ground turmeric (optional, for color)
- 1/2 tsp. agar agar powder*
Instructions
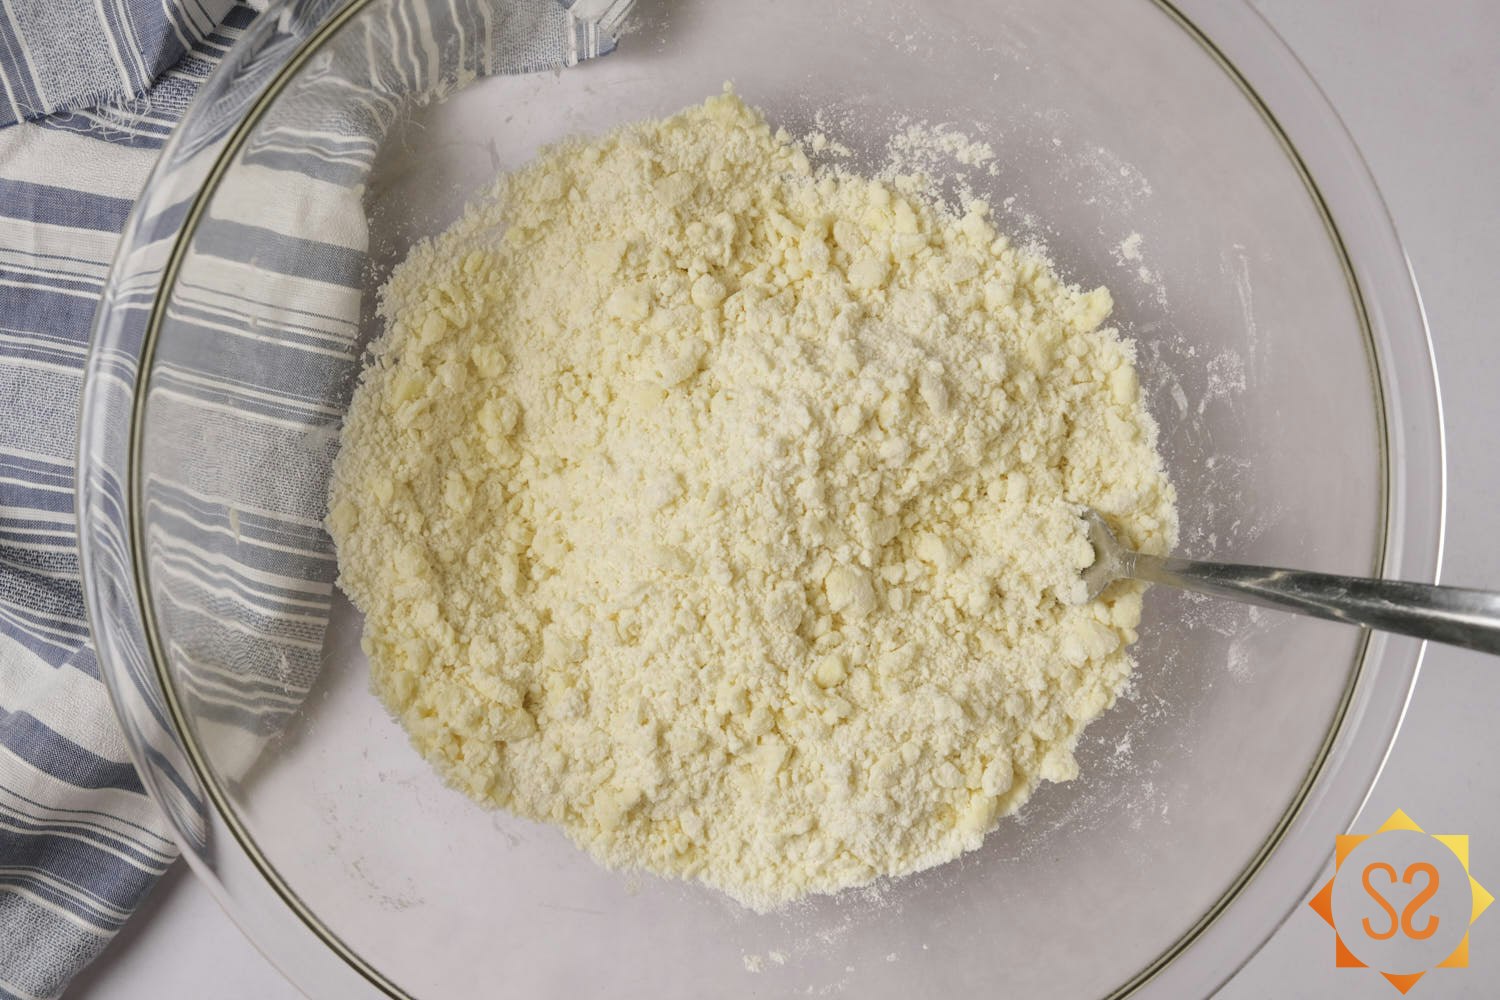
Add the flour, powdered sugar, and salt to a medium mixing bowl and mix. Add the pieces of cold vegan butter and cut in (mix) with a fork until the mixture is crumbly with small lumps.
![Dry ingredients in a mixing bowl with vegan butter cut in, producing a slightly lumpy mixture.]()
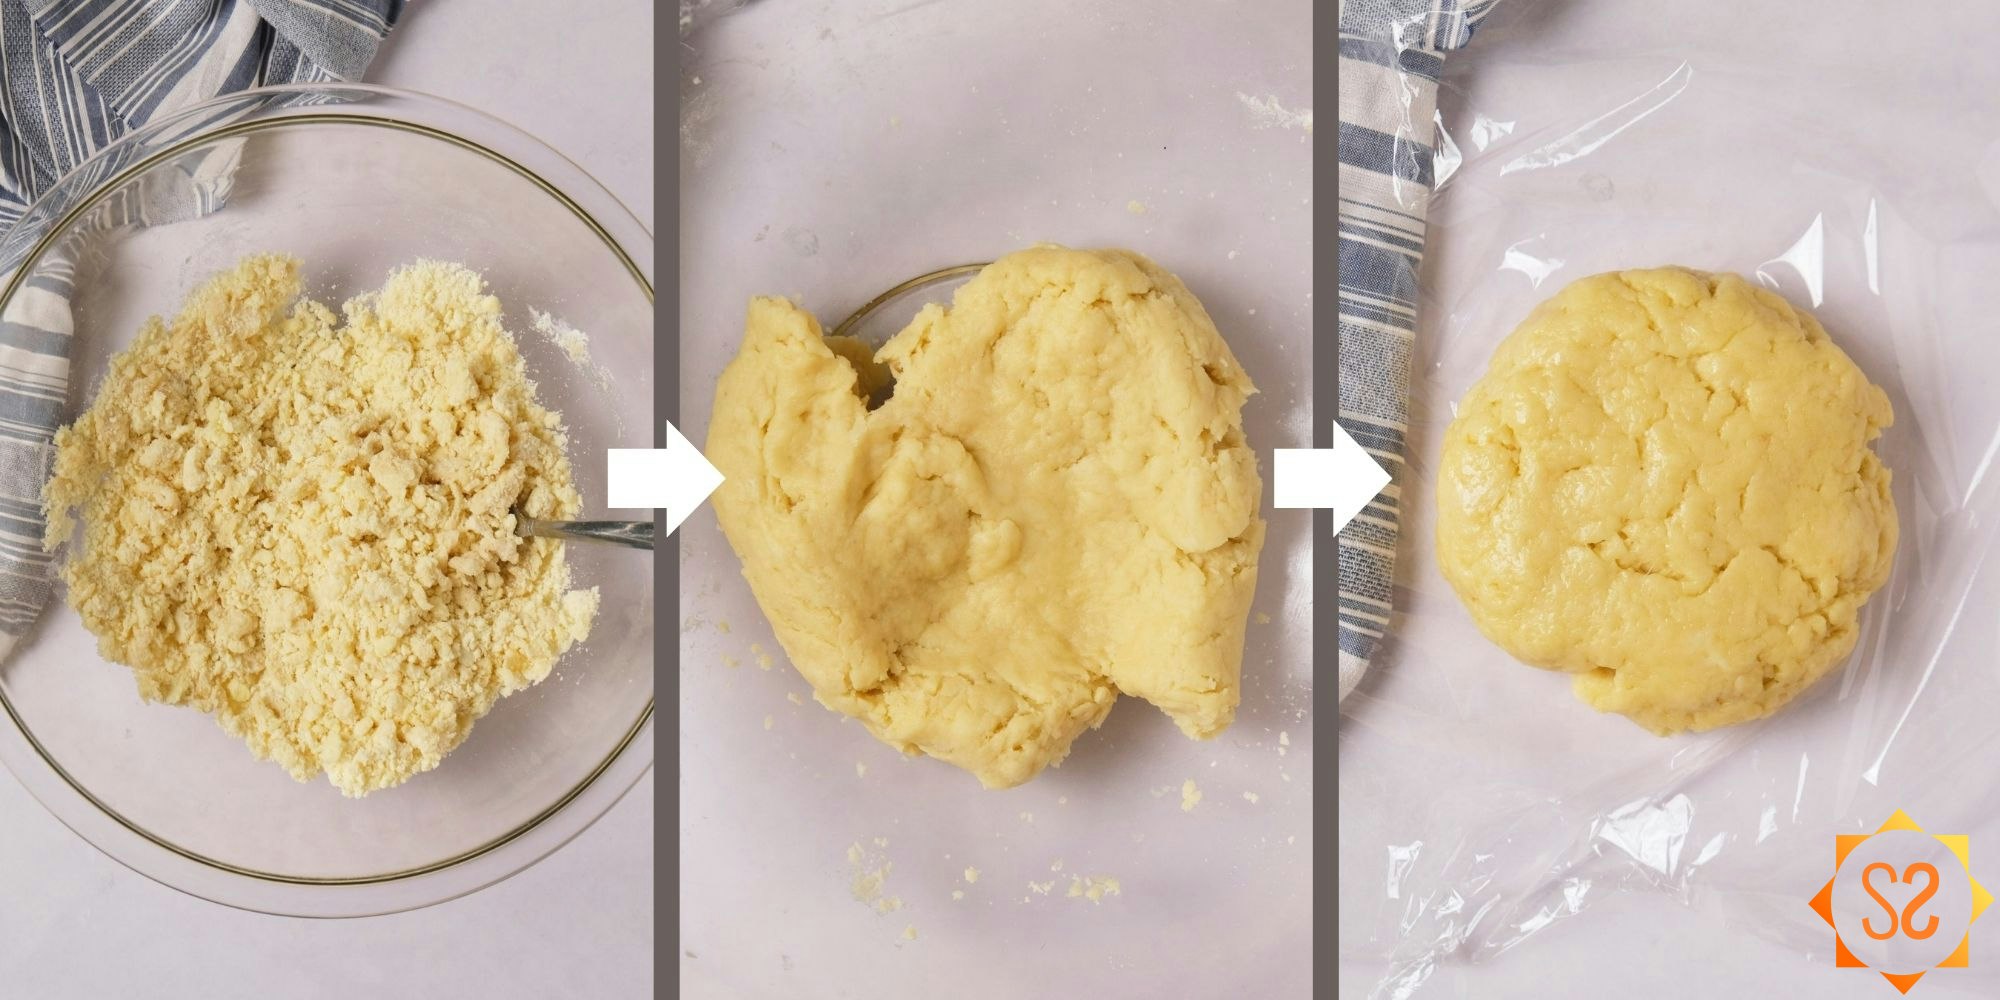
Mix your water and vanilla in a small bowl, then add the liquid to the flour and butter mixture, mixing until a dough is formed. At this stage, you’ll need to use your hands to form the dough. Shape the dough into a ball, then flatten into a disc. Wrap with plastic wrap and refrigerate for 30 minutes.
![Three images, first image: all ingredients mixed together in a bowl, second image: all ingredients forming a dough ball, third image: dough flattened into a disc and placed on plastic wrap.]()
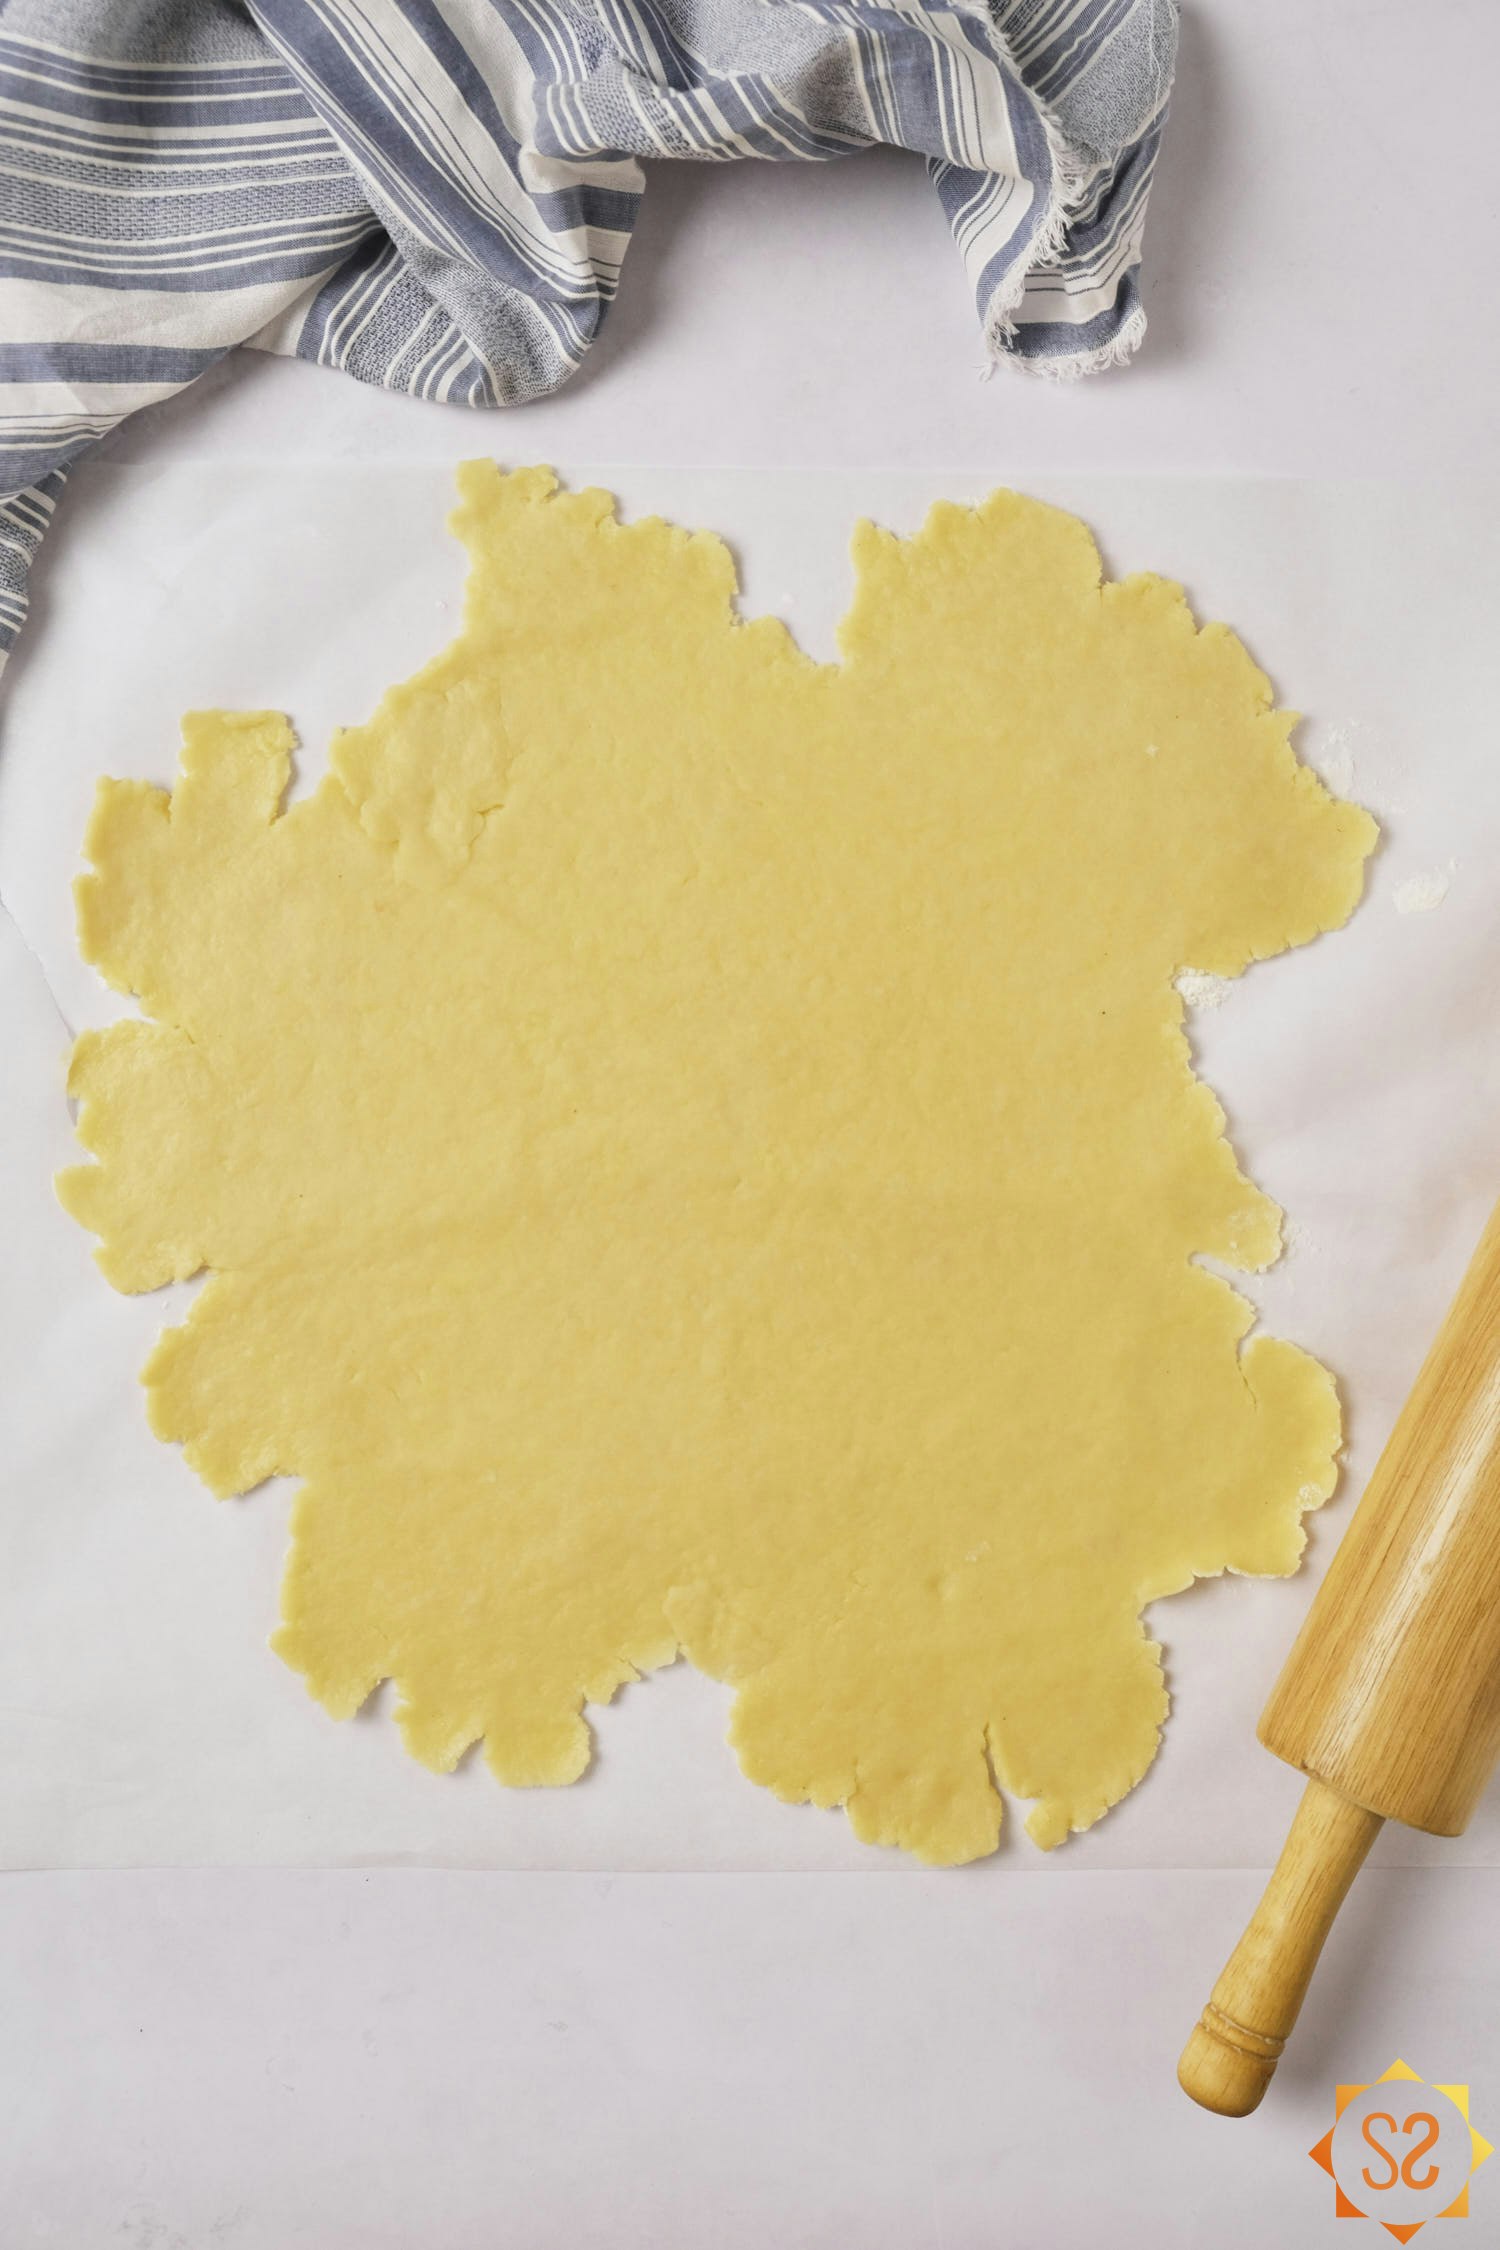
Remove the dough from the refrigerator and place it on a lightly floured surface. If the dough has gotten too cold from being left in the refrigerator longer, press it between your palms until it softens a little to prevent the dough from breaking when it’s rolled out. If the dough does break while rolling, press it back together using your fingertips. Roll the dough out until it’s about 1/8” (3 mm) thick.
![Pate brisee dough rolled out on a piece of parchment paper with a rolling pin to the side.]()
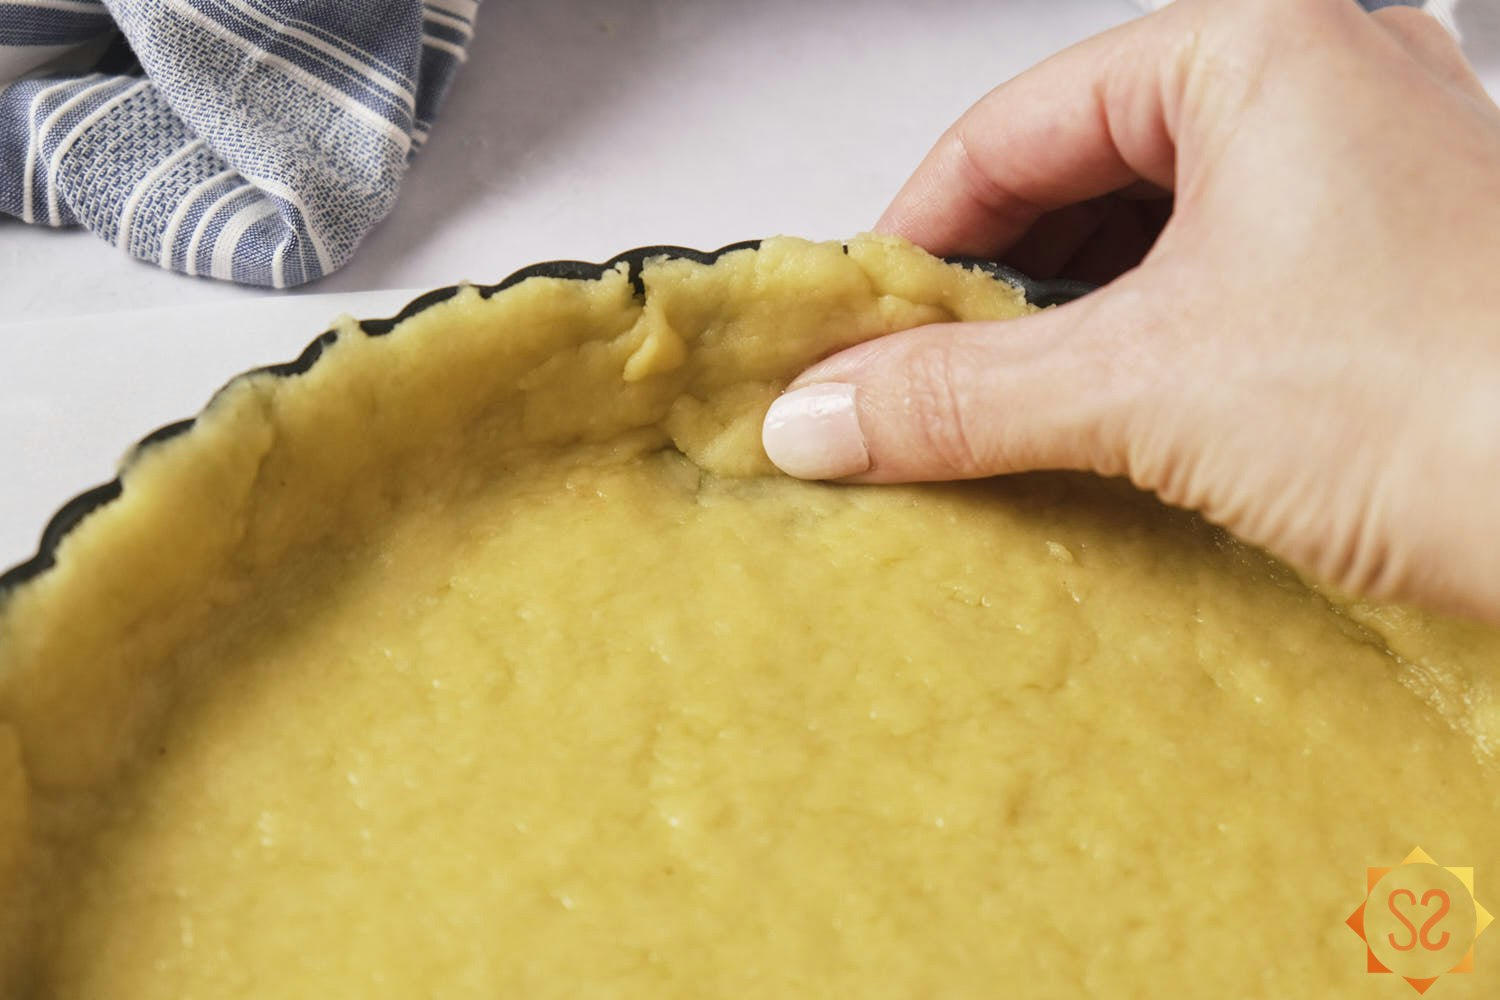
Lift up an edge of the rolled crust and slide a 9-inch (23-cm) tart pan underneath. It may be helpful to have a second person slide the tart pan so you can use both hands to lift the crust. Gently press the crust into the corners and edges of the pan, then trim anything that’s hanging over the edges (you can use the edge of the tart pan to cut the dough by pressing with your fingers). Make sure that the sides of the crust extend to the top of the pan all the way around. If there are any areas missing crust, you can press some of your trimmed dough into the empty areas. Use a fork to poke holes in the bottom of the crust, then place the pan and crust back in the refrigerator for another 30 minutes.
![Four images: 1. Dough resting on top of the tart pan; 2. Dough pressed into the corners of the tart pan; 3. Trimming edges of the dough; 4. Poking holes in the crust bottom.]()
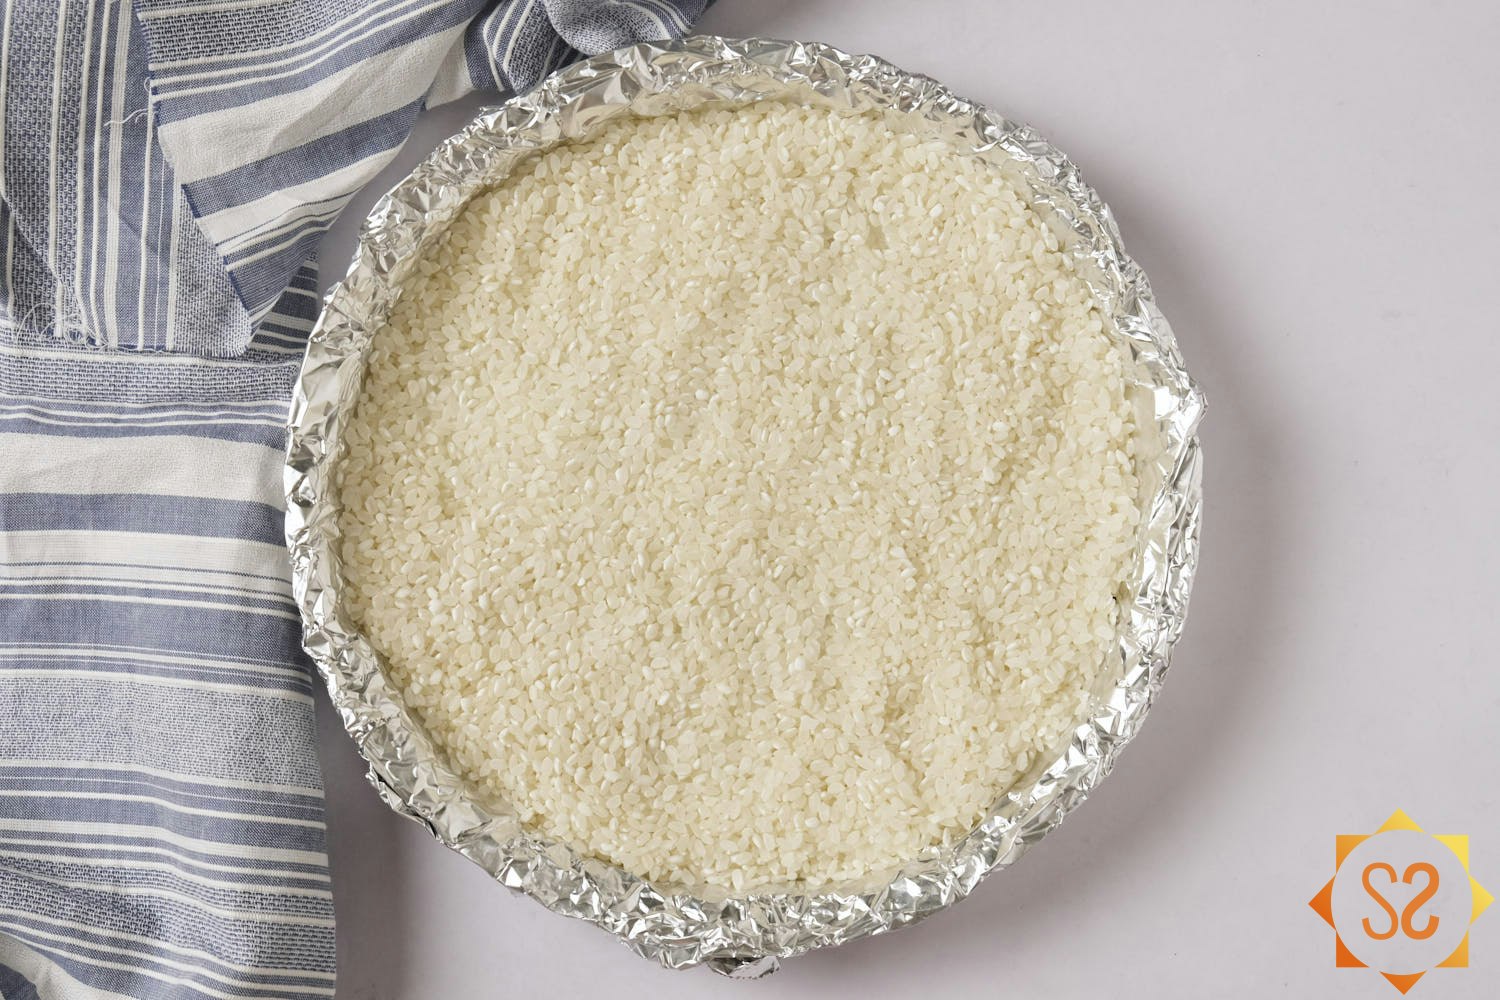
Before removing the crust from the refrigerator, preheat the oven to 350°F (180°C). After the dough has chilled for 30 minutes, cut a piece of aluminum foil large enough to cover the entire crust, then spray one side with spray oil. If you don’t have spray oil, you can also use a pastry brush to brush a light cooking oil on the foil. Place the oiled side down over the crust and push the foil down and into the corners of the crust. Fold the foil over the sides of the pan to secure it. Then fill the foil with pie weights, dry rice, or dry beans. (The weight keeps the crust from expanding while it’s baking).
![Tart pan with dough ready to go in the oven, covered with foil and weighted with rice.]()
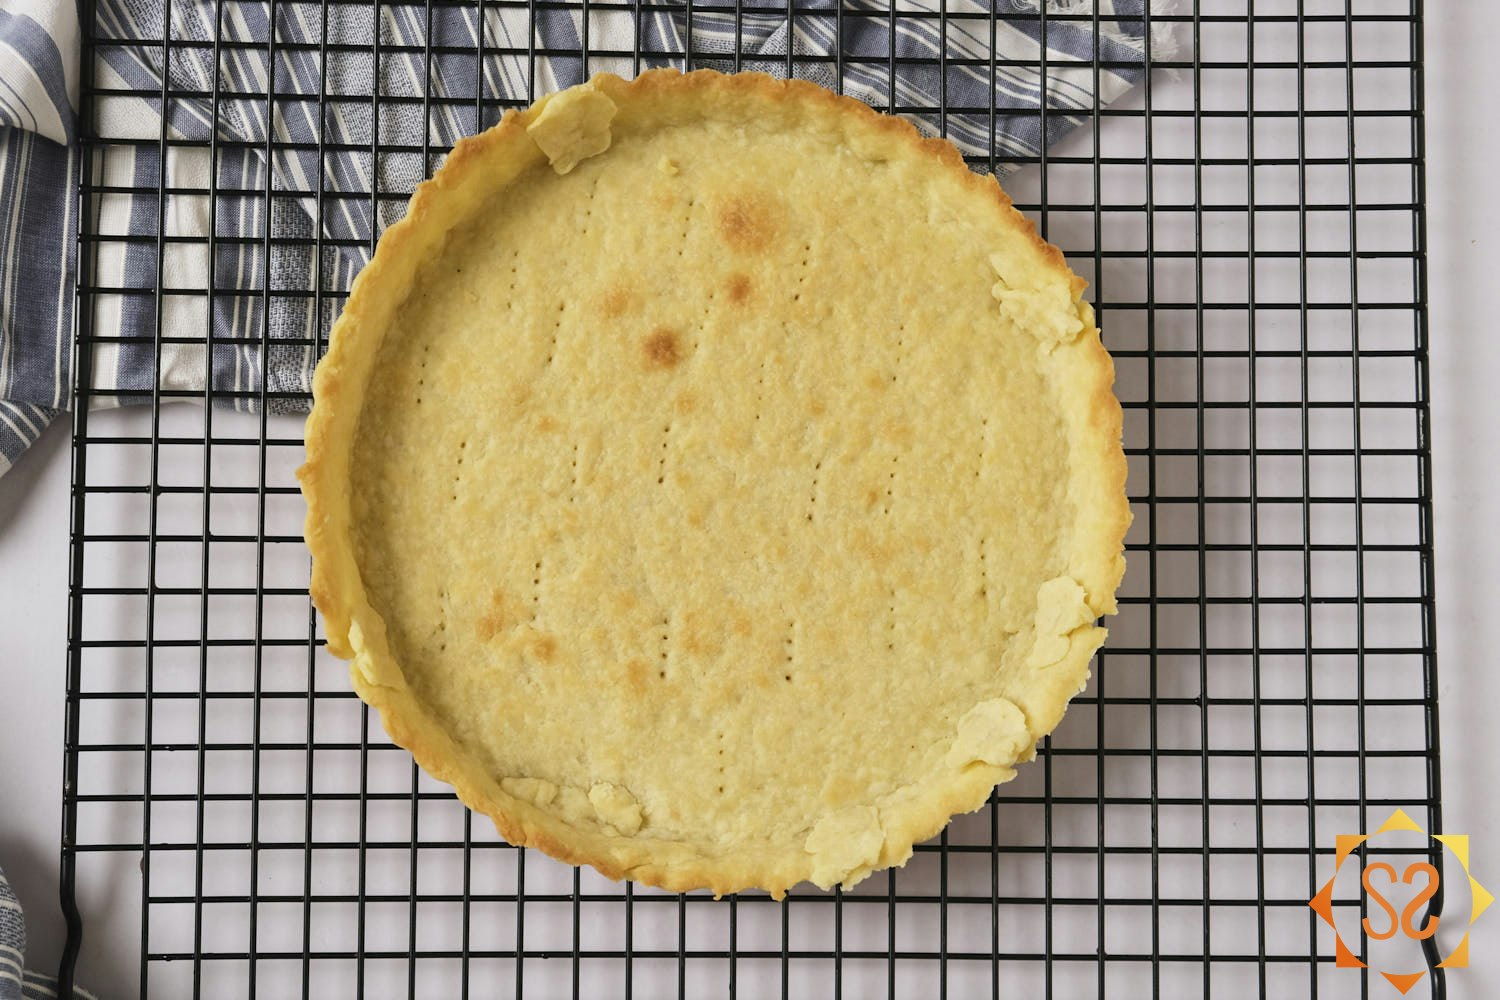
Place the pan on a baking sheet and bake the crust for 15 minutes. Then remove the foil and weights and bake for another 5-10 minutes, until the crust turns a slightly golden brown color. Let the crust cool in the pan for 10 minutes, then carefully remove it from the pan and transfer it to a wire cooling rack to cool completely.
![Baked tart crust cooling on a cooling rack.]()
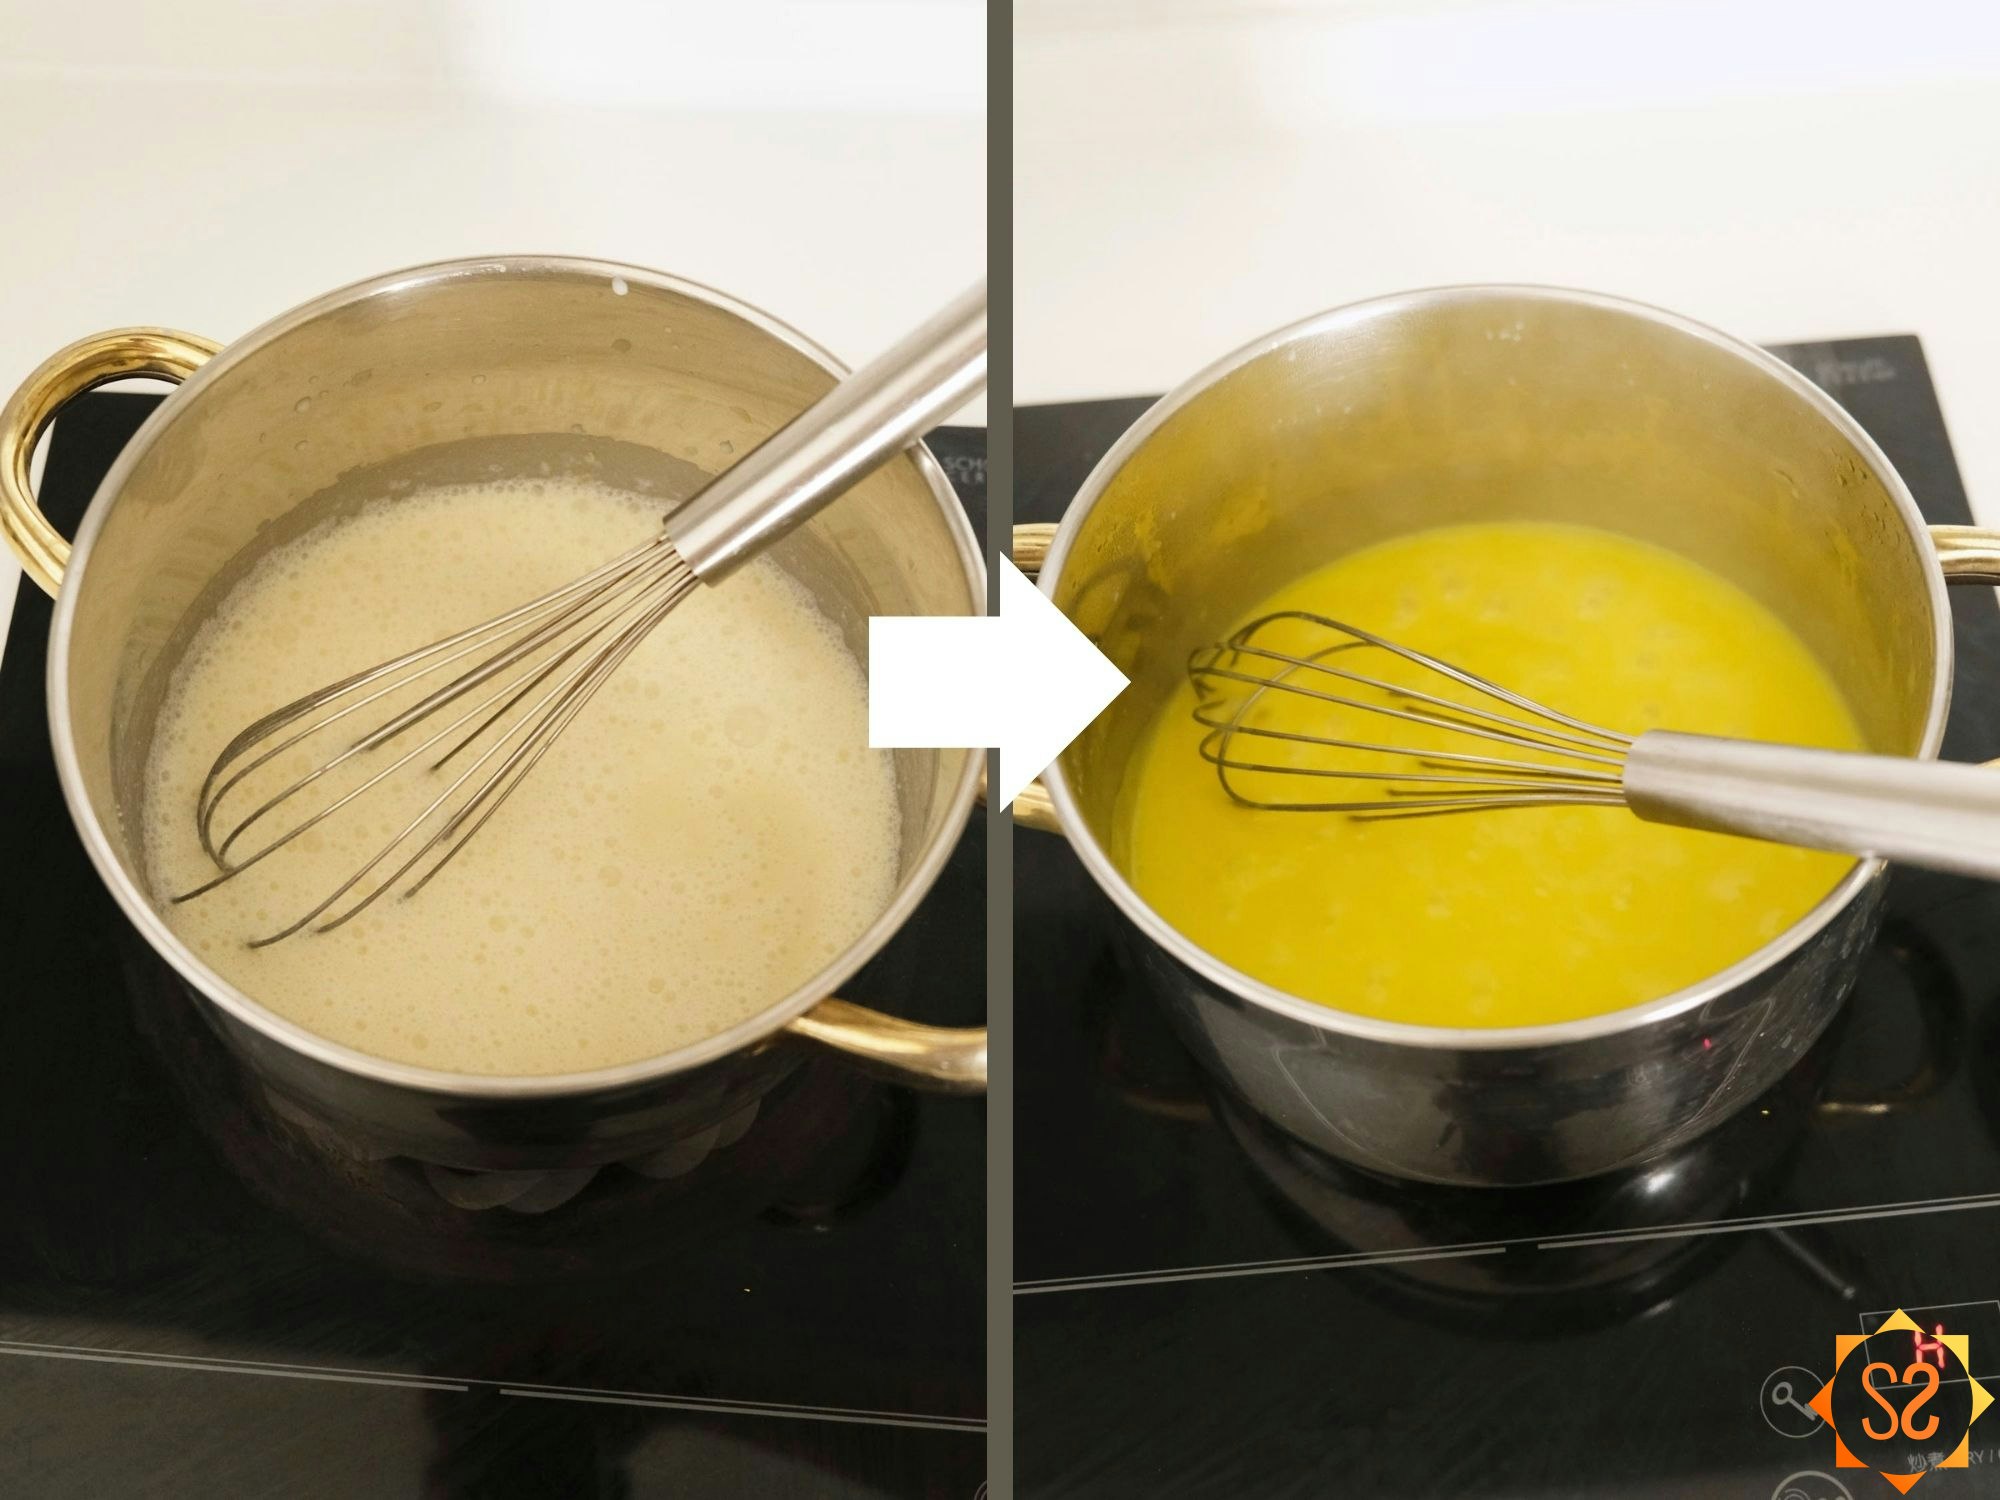
Once the crust has cooled, begin making the filling. Add all the filling ingredients except the agar agar (coconut milk, coconut cream, lemon juice, lemon zest, sugar, cornstarch, and turmeric) to a medium saucepan (no heat) and whisk, making sure the cornstarch fully dissolves. Turn the heat on medium, whisking constantly. Once the filling reaches a slow boil, add the agar agar and continue whisking until the mixture has thickened into a more gelatinous texture (about another 2 minutes or so). Remove from heat.
![Two images: 1. The lemon curd ingredients mixed in a saucepan before heating, 2. The lemon curd ingredients fully cooked in a saucepan.]()
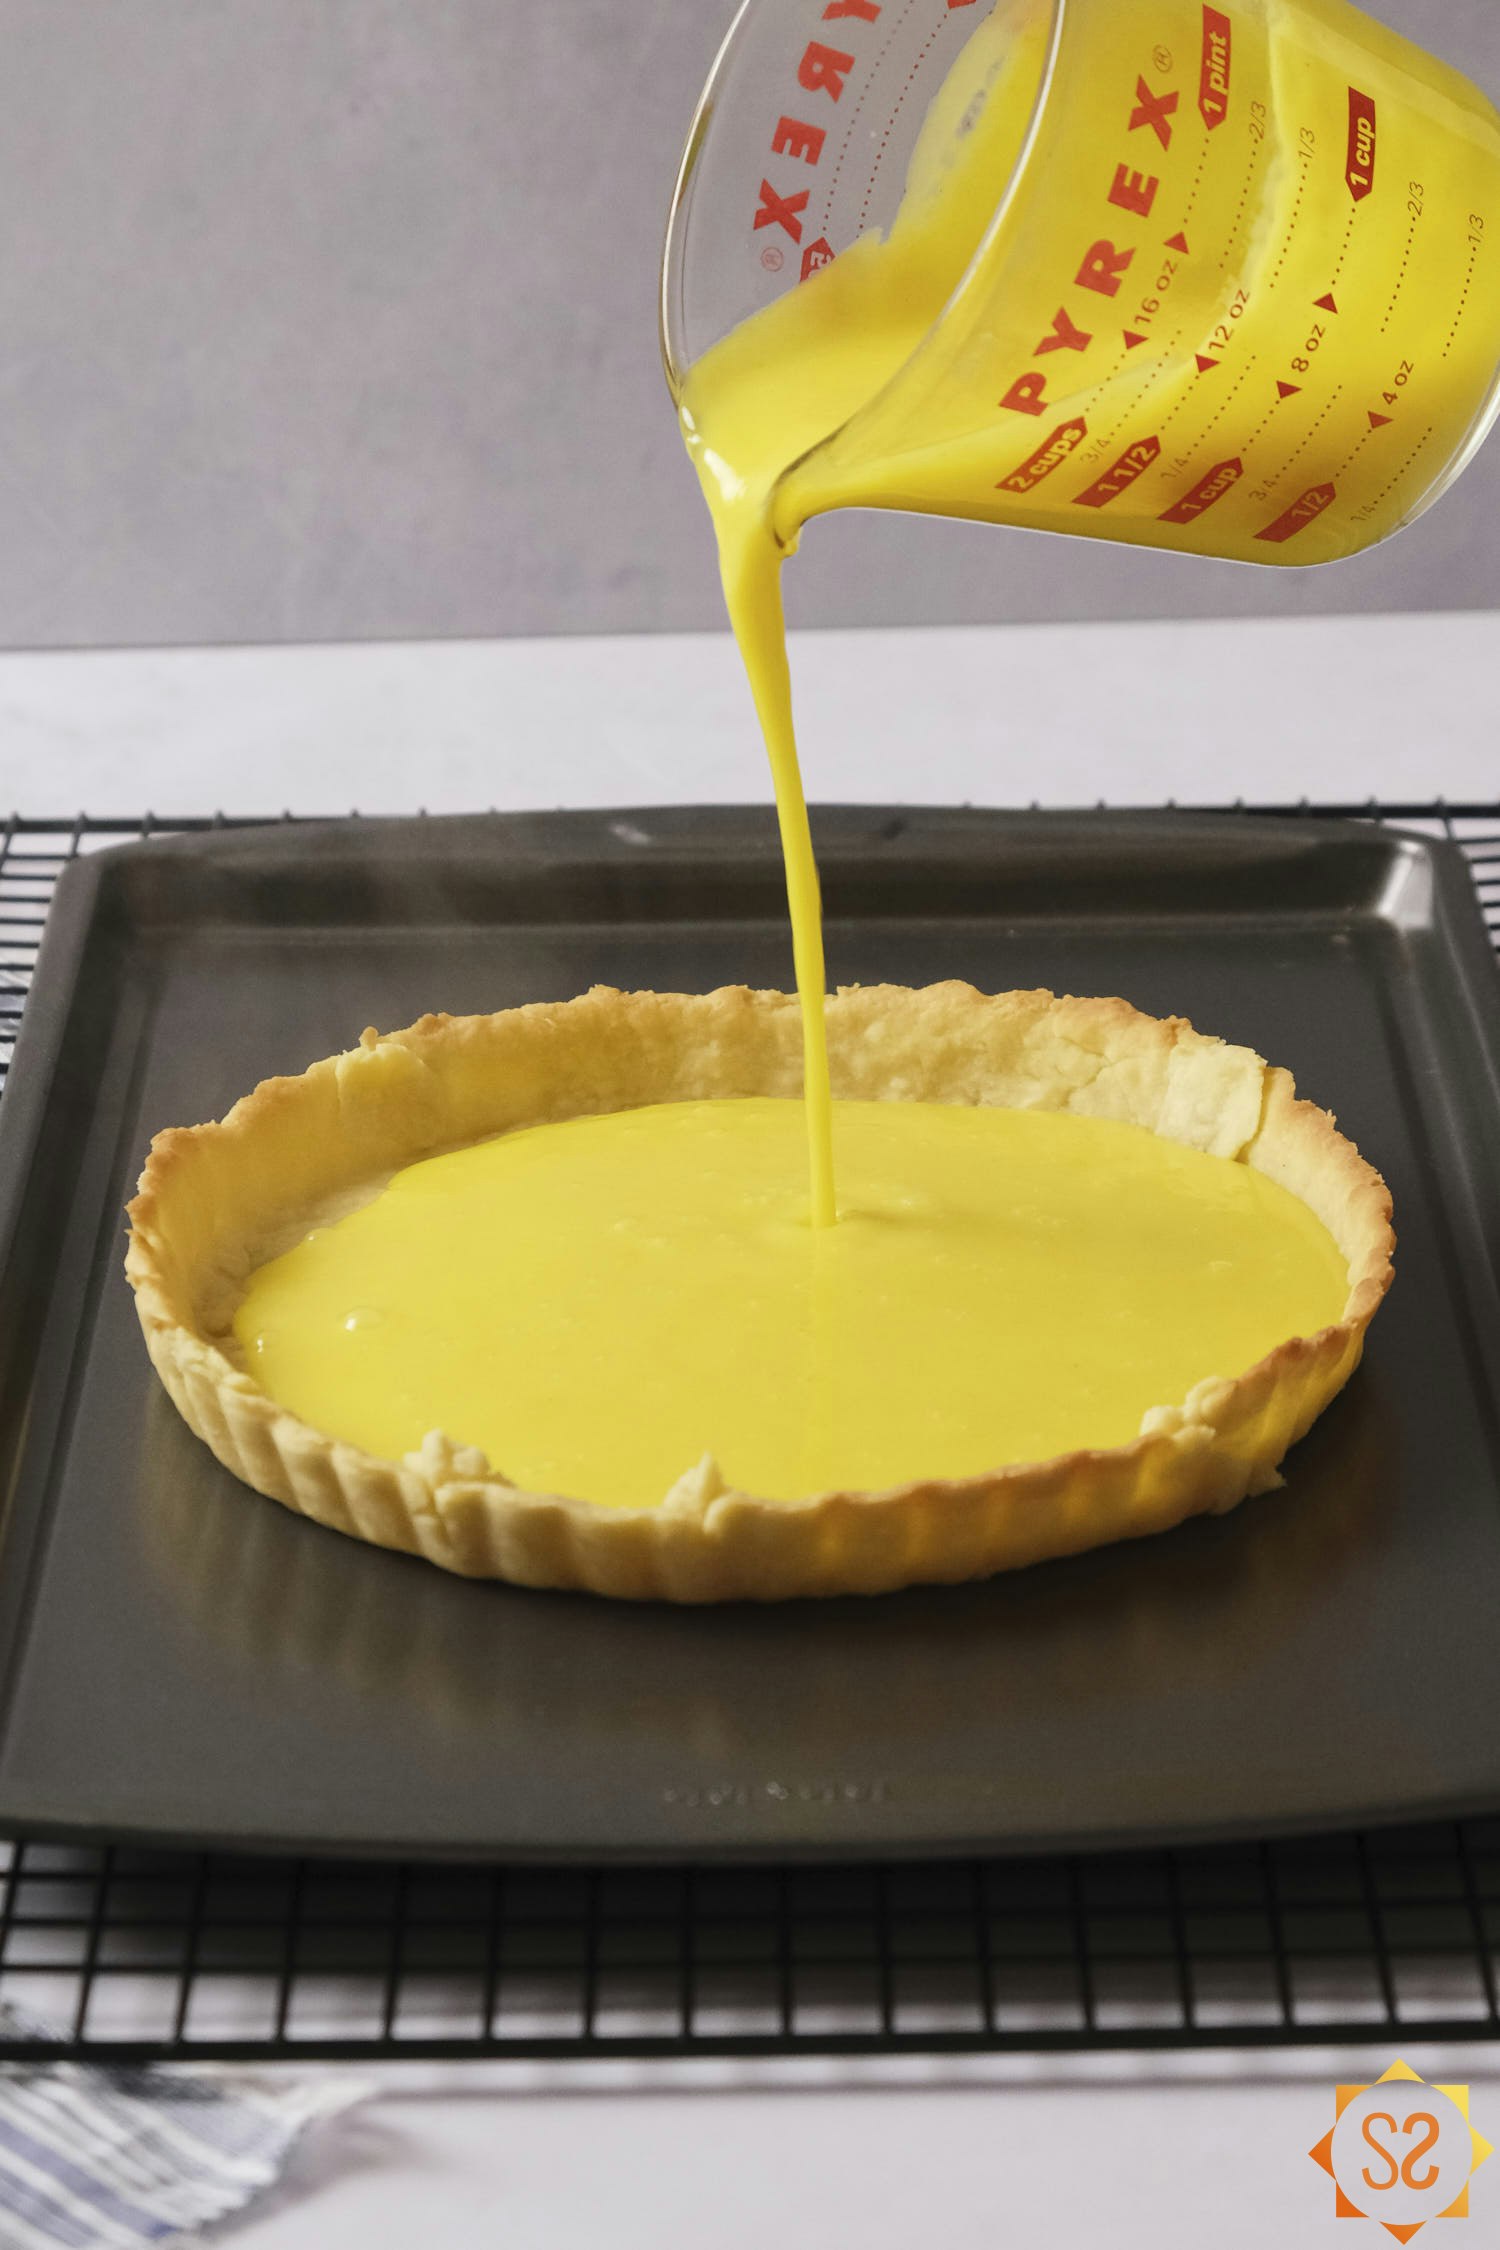
Before filling the crust, transfer it to a baking sheet so it will be easier to move to the refrigerator without breaking. Pour the filling into the crust (it should reach about halfway to the top). Carefully transfer the tart to a flat shelf in the refrigerator and allow it to cool for at least 3 hours, or overnight. Garnish with toppings such as fresh berries, vegan whipped cream, or edible flowers, then cut, serve and enjoy!
![Pouring lemon curd from a measuring cup into the pate brisee crust on a baking tray.]()
Notes & Hints
Latin brands of coconut cream such as Goya and Iberia have a lot of added sugar and won't work in this recipe. Thai Kitchen, Native Forest, 365 brand, and Trader Joe's all have unsweetened coconut cream that will work.
If you have agar agar flakes, use 1/2 tablespoon instead of 1/2 teaspoon.
Store the tart covered or in an airtight container in the refrigerator. The texture and taste is best when eaten within a few days.
This recipe is freezer-friendly. Wrap individual slices in plastic wrap or place in freezer bags. Allow to defrost at room temperature for 2-3 hours before eating.
To make tartlets (mini tarts) instead, see the instructions in the post.
Nutrition Data
Serving Size: 1/8 of recipe; Calories: 256; Fat: 15 g.; Saturated Fat: 12 g.; Cholesterol: 0 mg.; Sodium: 157 mg.; Carbohydrates: 26 g.; Fiber: 0 g.; Sugar: 9 g.; Protein: 2 g.; Vitamin A: 0 mcg. RAE; Vitamin B12: 0 mcg.; Vitamin C: 4 mg.; Vitamin D: 0 mcg.; Calcium: 3 mg.; Iron: 0 mg.; Potassium: 80 mg.; Zinc: 2 mg.Note: This data should be used only as an estimate. Please see the nutrition section of my terms and conditions for more information on how this data is calculated.
Vegan recipes in your inbox
Join the community and get my newest and best yummy vegan recipes sent right to your email!
Share this:










Leave a Comment
I love reading comments! I'll do my best to answer questions, too. If you made the recipe, please leave a star rating, it helps support the blog so I can make more recipes and articles. Thank you!
says