Vegan Buttercream Frosting
Published: July 8, 2021
Modified: June 1, 2023
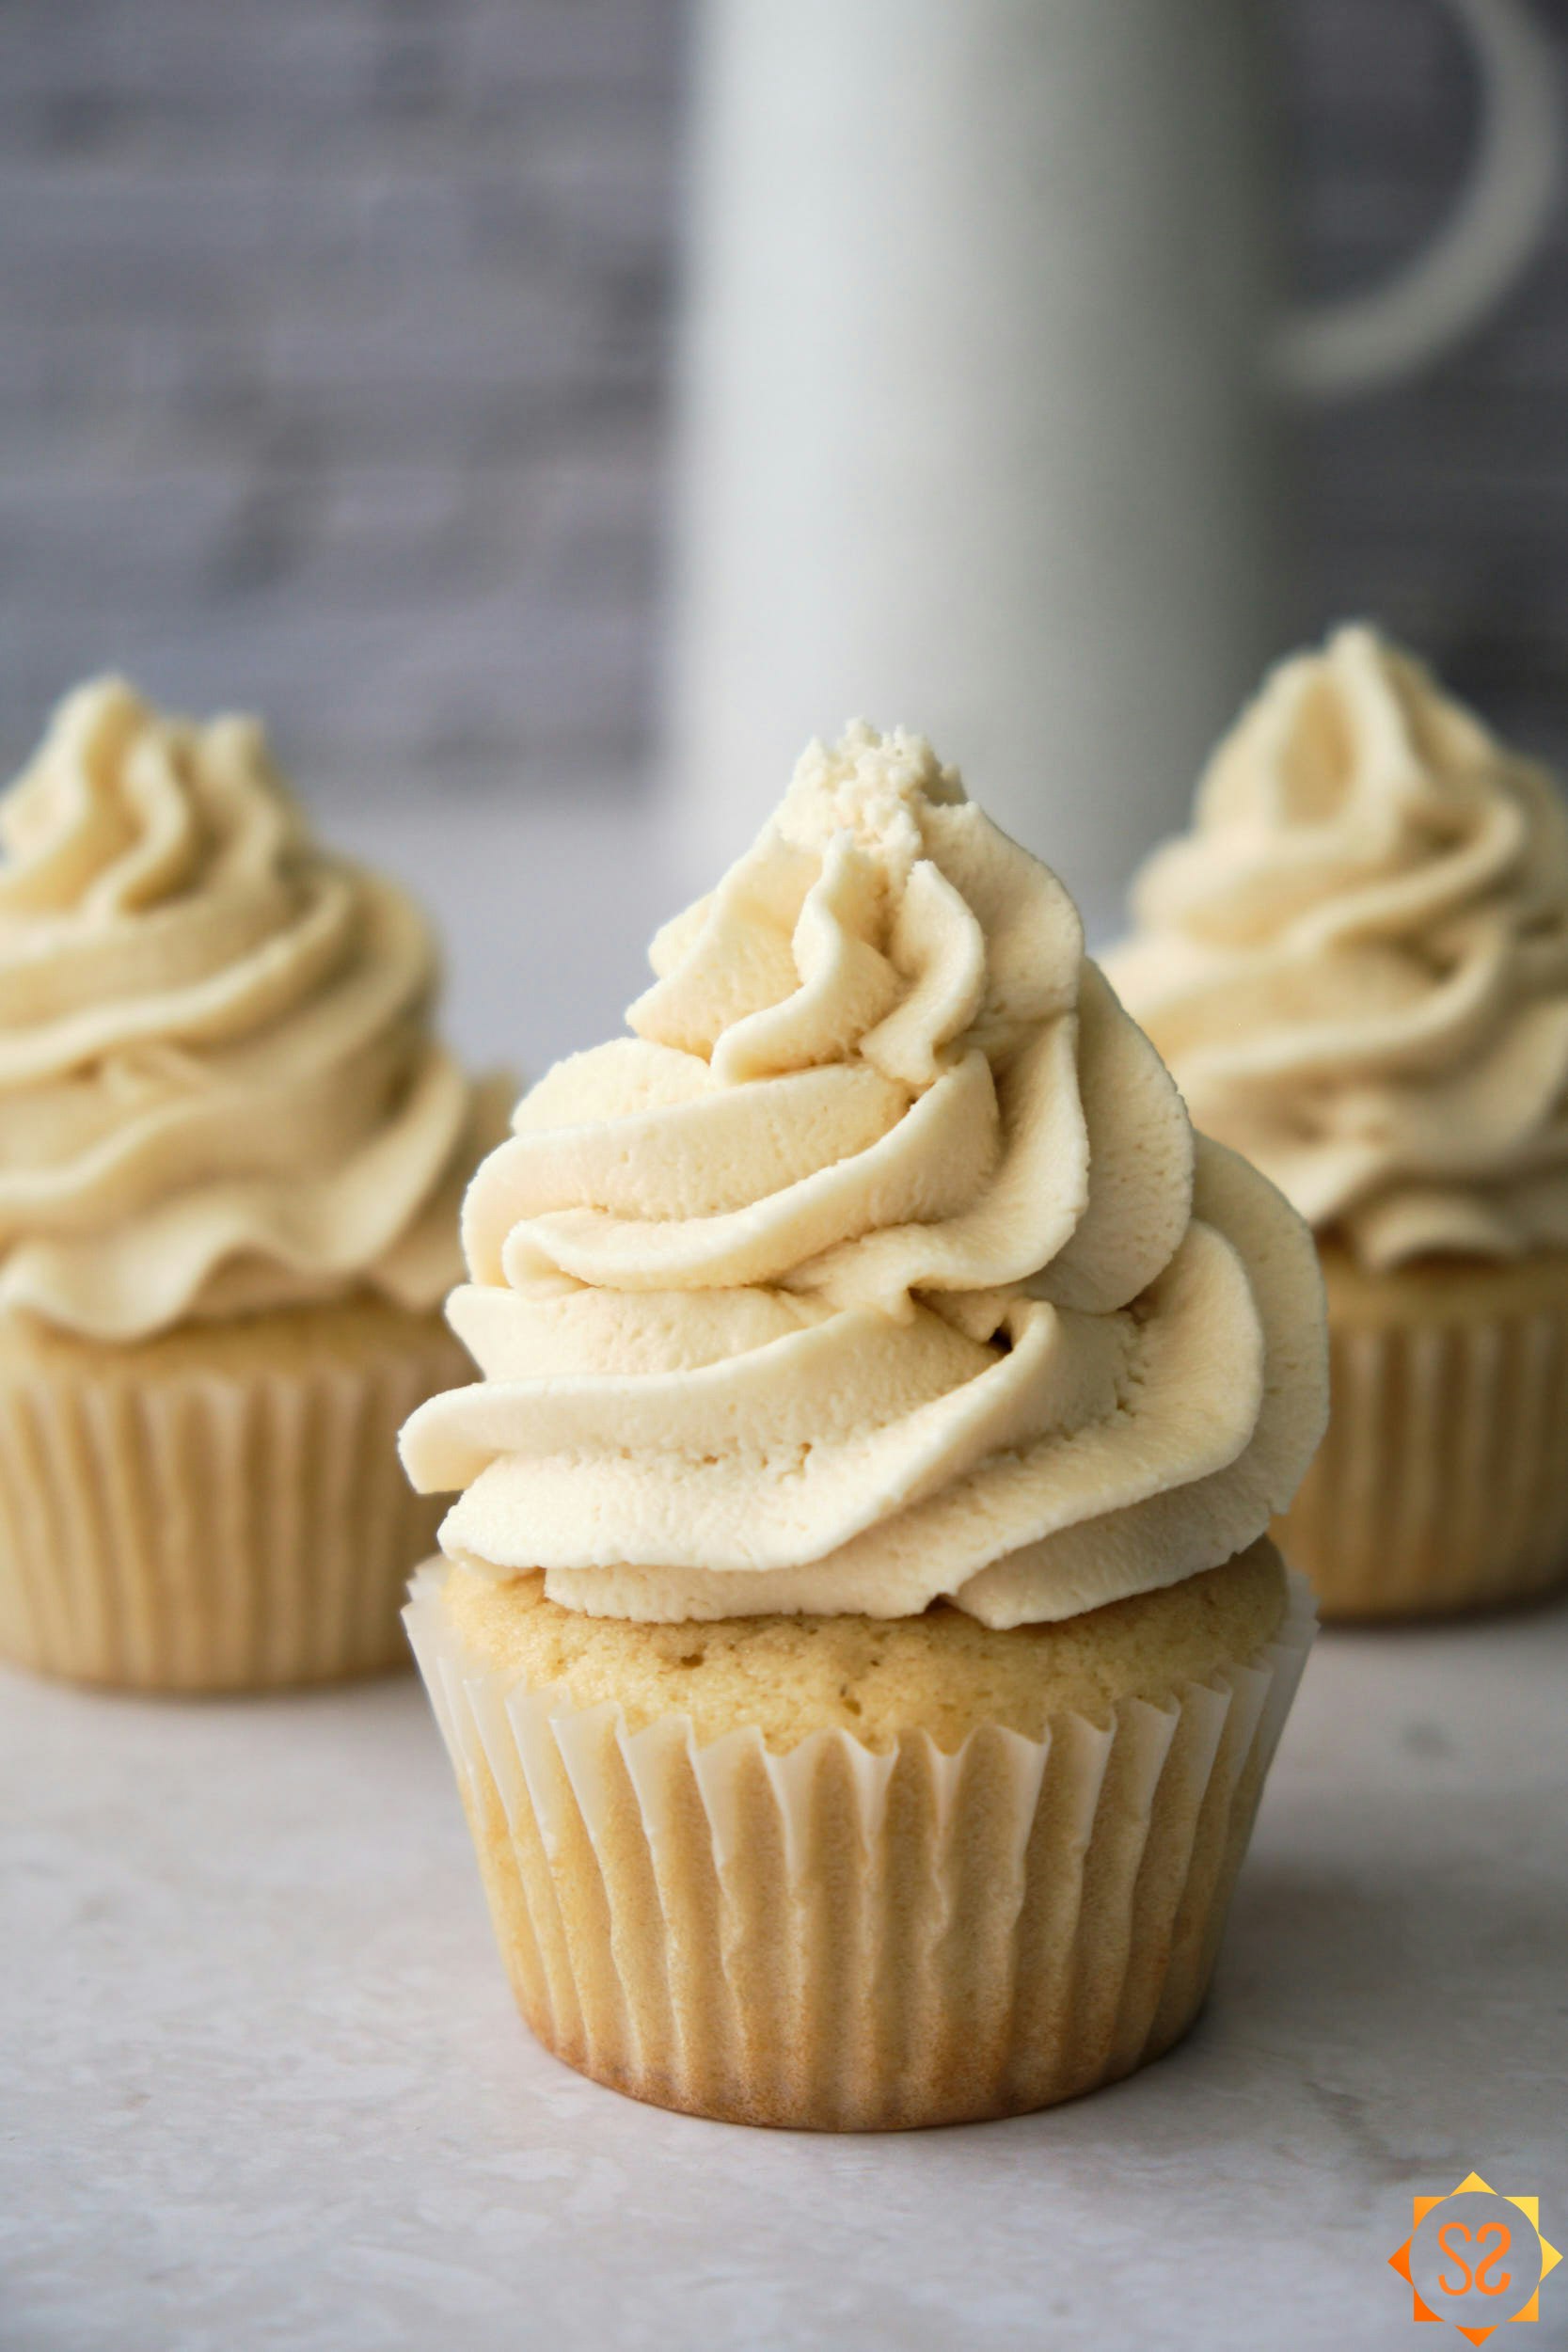
This vegan buttercream frosting is creamy, dreamy, and perfect for birthday cakes, cupcakes, and more! Plus, it comes together in just a few minutes with a few ingredients.
Contents
- How to frost a layer cake with buttercream frosting
- How to frost cupcakes with vegan buttercream
- Vegan Buttercream Frosting Ingredients and Substitutions
- Choosing vegan butter for buttercream frosting
- Color and flavor variations
- Storing your vegan frosting
- Frequently Asked Questions
- More delicious vegan frosting and cake recipes
- Recipe
- Comments & Ratings
American buttercream is a classic frosting that's known for its rich flavor and versatility. With this easy dairy-free version, you can create a white vanilla buttercream, or you can add colors to your liking. You can also add a variety of flavors to make it your own!
The best part of this frosting recipe is how easy it is to make. With just a few simple ingredients and a stand mixer (or electric hand mixer), you can have delicious vegan frosting in minutes.
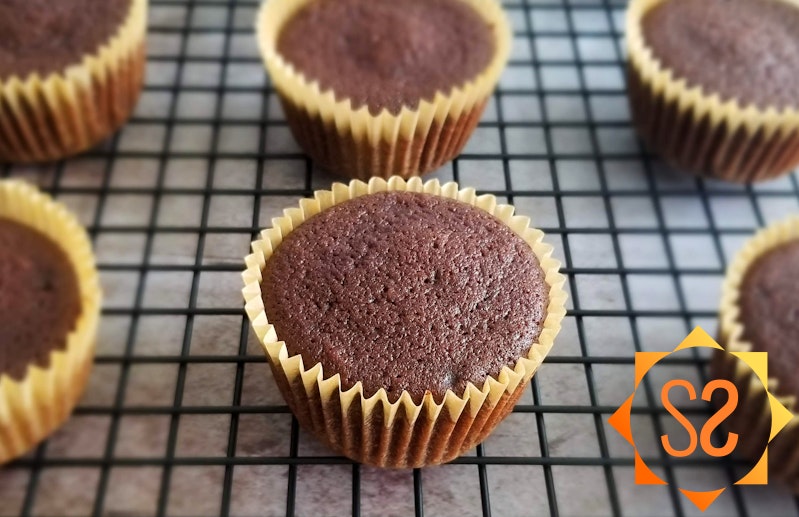
If you need some moist and delicious vegan cake recipes to pair this frosting with, try my vegan vanilla cake, vanilla cupcakes, or divine chocolate cupcakes.

How to frost a layer cake with buttercream frosting
To frost a picture-perfect layer cake, you'll need to start with the right tools:
A cake decorating turntable will allow you to spin the cake so you can spread and smooth the frosting along the sides.
Grease-proof cake boards provide a moveable base for your cake, so you can transfer it from the turntable to a stand or plate. Make sure they're grease-proof so you can clean up any frosting without leaving a stain on the board. You should get a board that's about 2" larger than your cake (so for a 6" cake, purchase 8" boards).
Slip-proof shelf liner is optional, but it's nice to cut and place underneath your cake board so the cake doesn't slide around while you're spreading the frosting.
A flat icing spatula will help you spread the frosting evenly around the cake. Use a small spatula for smaller cakes.
An icing smoother can be used to make the top and sides of your cake beautifully smooth.
A pastry (piping) bag and large piping tips are optional. You can use a large round tip to pipe the icing between the layers before spreading it out. And you can use star tips or other shaped tips to place decorative frosting on top or at the base of the cake. I recommend reusable pastry bags to minimize waste.

Before you start, you may wish to freeze your cake layers. This will make them firmer and less likely to crumble when you spread the frosting. Normally I'll freeze the layers overnight, and take them out when I'm preparing the frosting. That way, they're not fully frozen, but they still remain firm while I'm frosting them.
Begin by placing your decorating turntable on a table, then place a piece of shelf liner on top (if you're using it). Put a cake board on top of the shelf liner, as close to the center as possible.
Use your icing spatula to spread a small amount of buttercream on the center of the cake board. Then press your first layer onto the cake board, keeping it as close to the center as possible. It's important for your entire cake to be at the center of the turntable so you can get a smooth finish with your icing smoother.

Pipe or use the spatula to pile some of your buttercream on top of the first layer. Spread it around evenly, making sure to fill in any air pockets. You can make each layer as thick or thin as you'd like, but I normally use about 1 cm (3/8 in) of frosting between each layer.

Place your second layer on top and press down gently to ensure that there's no air between the cake and the frosting. Check the cake from the sides and spin it around a few times to make sure that the cake is straight, and adjust it if needed. If you have additional layers, repeat frosting and adding the layers on top.

Once your top cake layer has been placed, you can begin to create your base buttercream layer. This layer should be very thin and provide a base for the thicker buttercream layer that will go on top of it. It will also catch any crumbs that fall off of the cake so they're not spread into the main layer of buttercream. Pipe some frosting on the top and sides or use the spatula to place it. Then use the spatula to spread a thin layer along the sides and top of the cake, making sure that it's fully covered.
Once you have your cake coated, use your icing smoother to smooth out the frosting and make it as thin as possible. Don't be too aggressive with the icing smoother; gentle pressure is best. Be sure to use long, smooth strokes on the top of the cake, moving from the center to the edges. On the sides, hold the smoother vertically against the side of the cake and spin the turntable.

Place the cake in the freezer for about 5 minutes, until the frosting is hard. Then you can apply your final layer of buttercream. Be sure to set some buttercream aside if you plan to pipe additional frosting on the top or base for decoration.
For your final layer, place more frosting on the top and sides of the cake using your spatula or pastry bag. Spread it with the spatula until you have a thick, even layer. Finish the cake with your icing smoother, using very gentle pressure to smooth out the frosting.
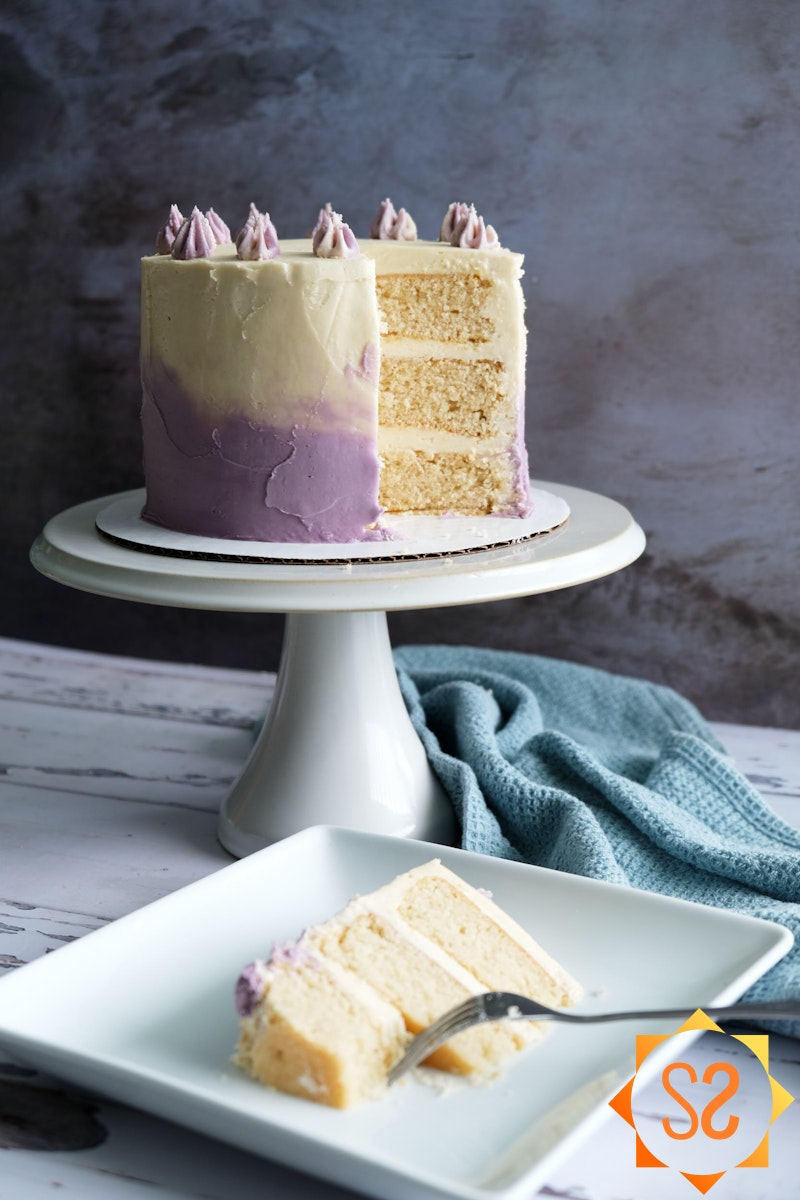
Put the remaining frosting in a piping bag with a star tip or other decorative tip. Pipe as desired on the top or around the base of the cake to add some flair to your buttercream!

If you'd like more specific instructions for the ombre design shown above, you can find those in the recipe post for my vegan vanilla cake.
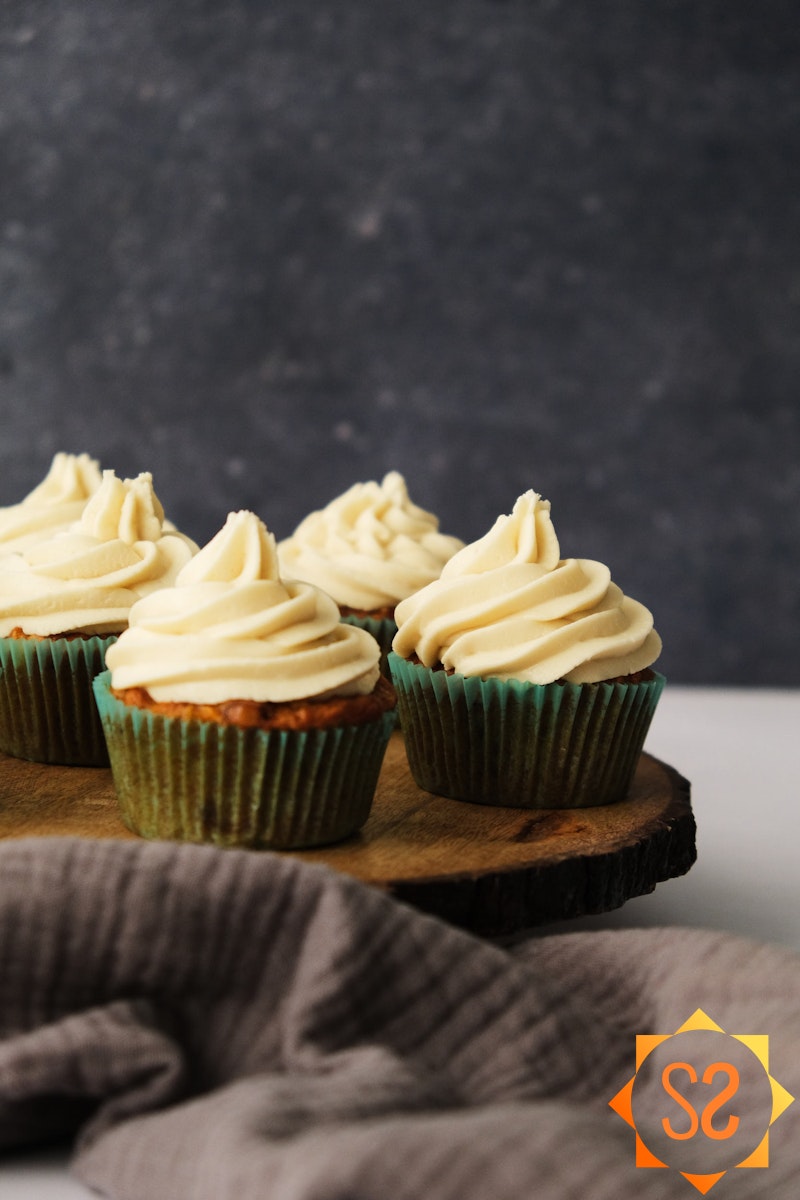
How to frost cupcakes with vegan buttercream
You'll need some tools for frosting cupcakes, too, but far fewer tools are needed for cupcakes than for layer cakes. You'll only need either a small icing spatula (for a thin layer of frosting) or pastry bags and piping tips (for thick, fancy frosting).
Make sure you're starting with cupcakes that have cooled completely. If they're even just a little warm, your frosting may soften or melt, so be patient!
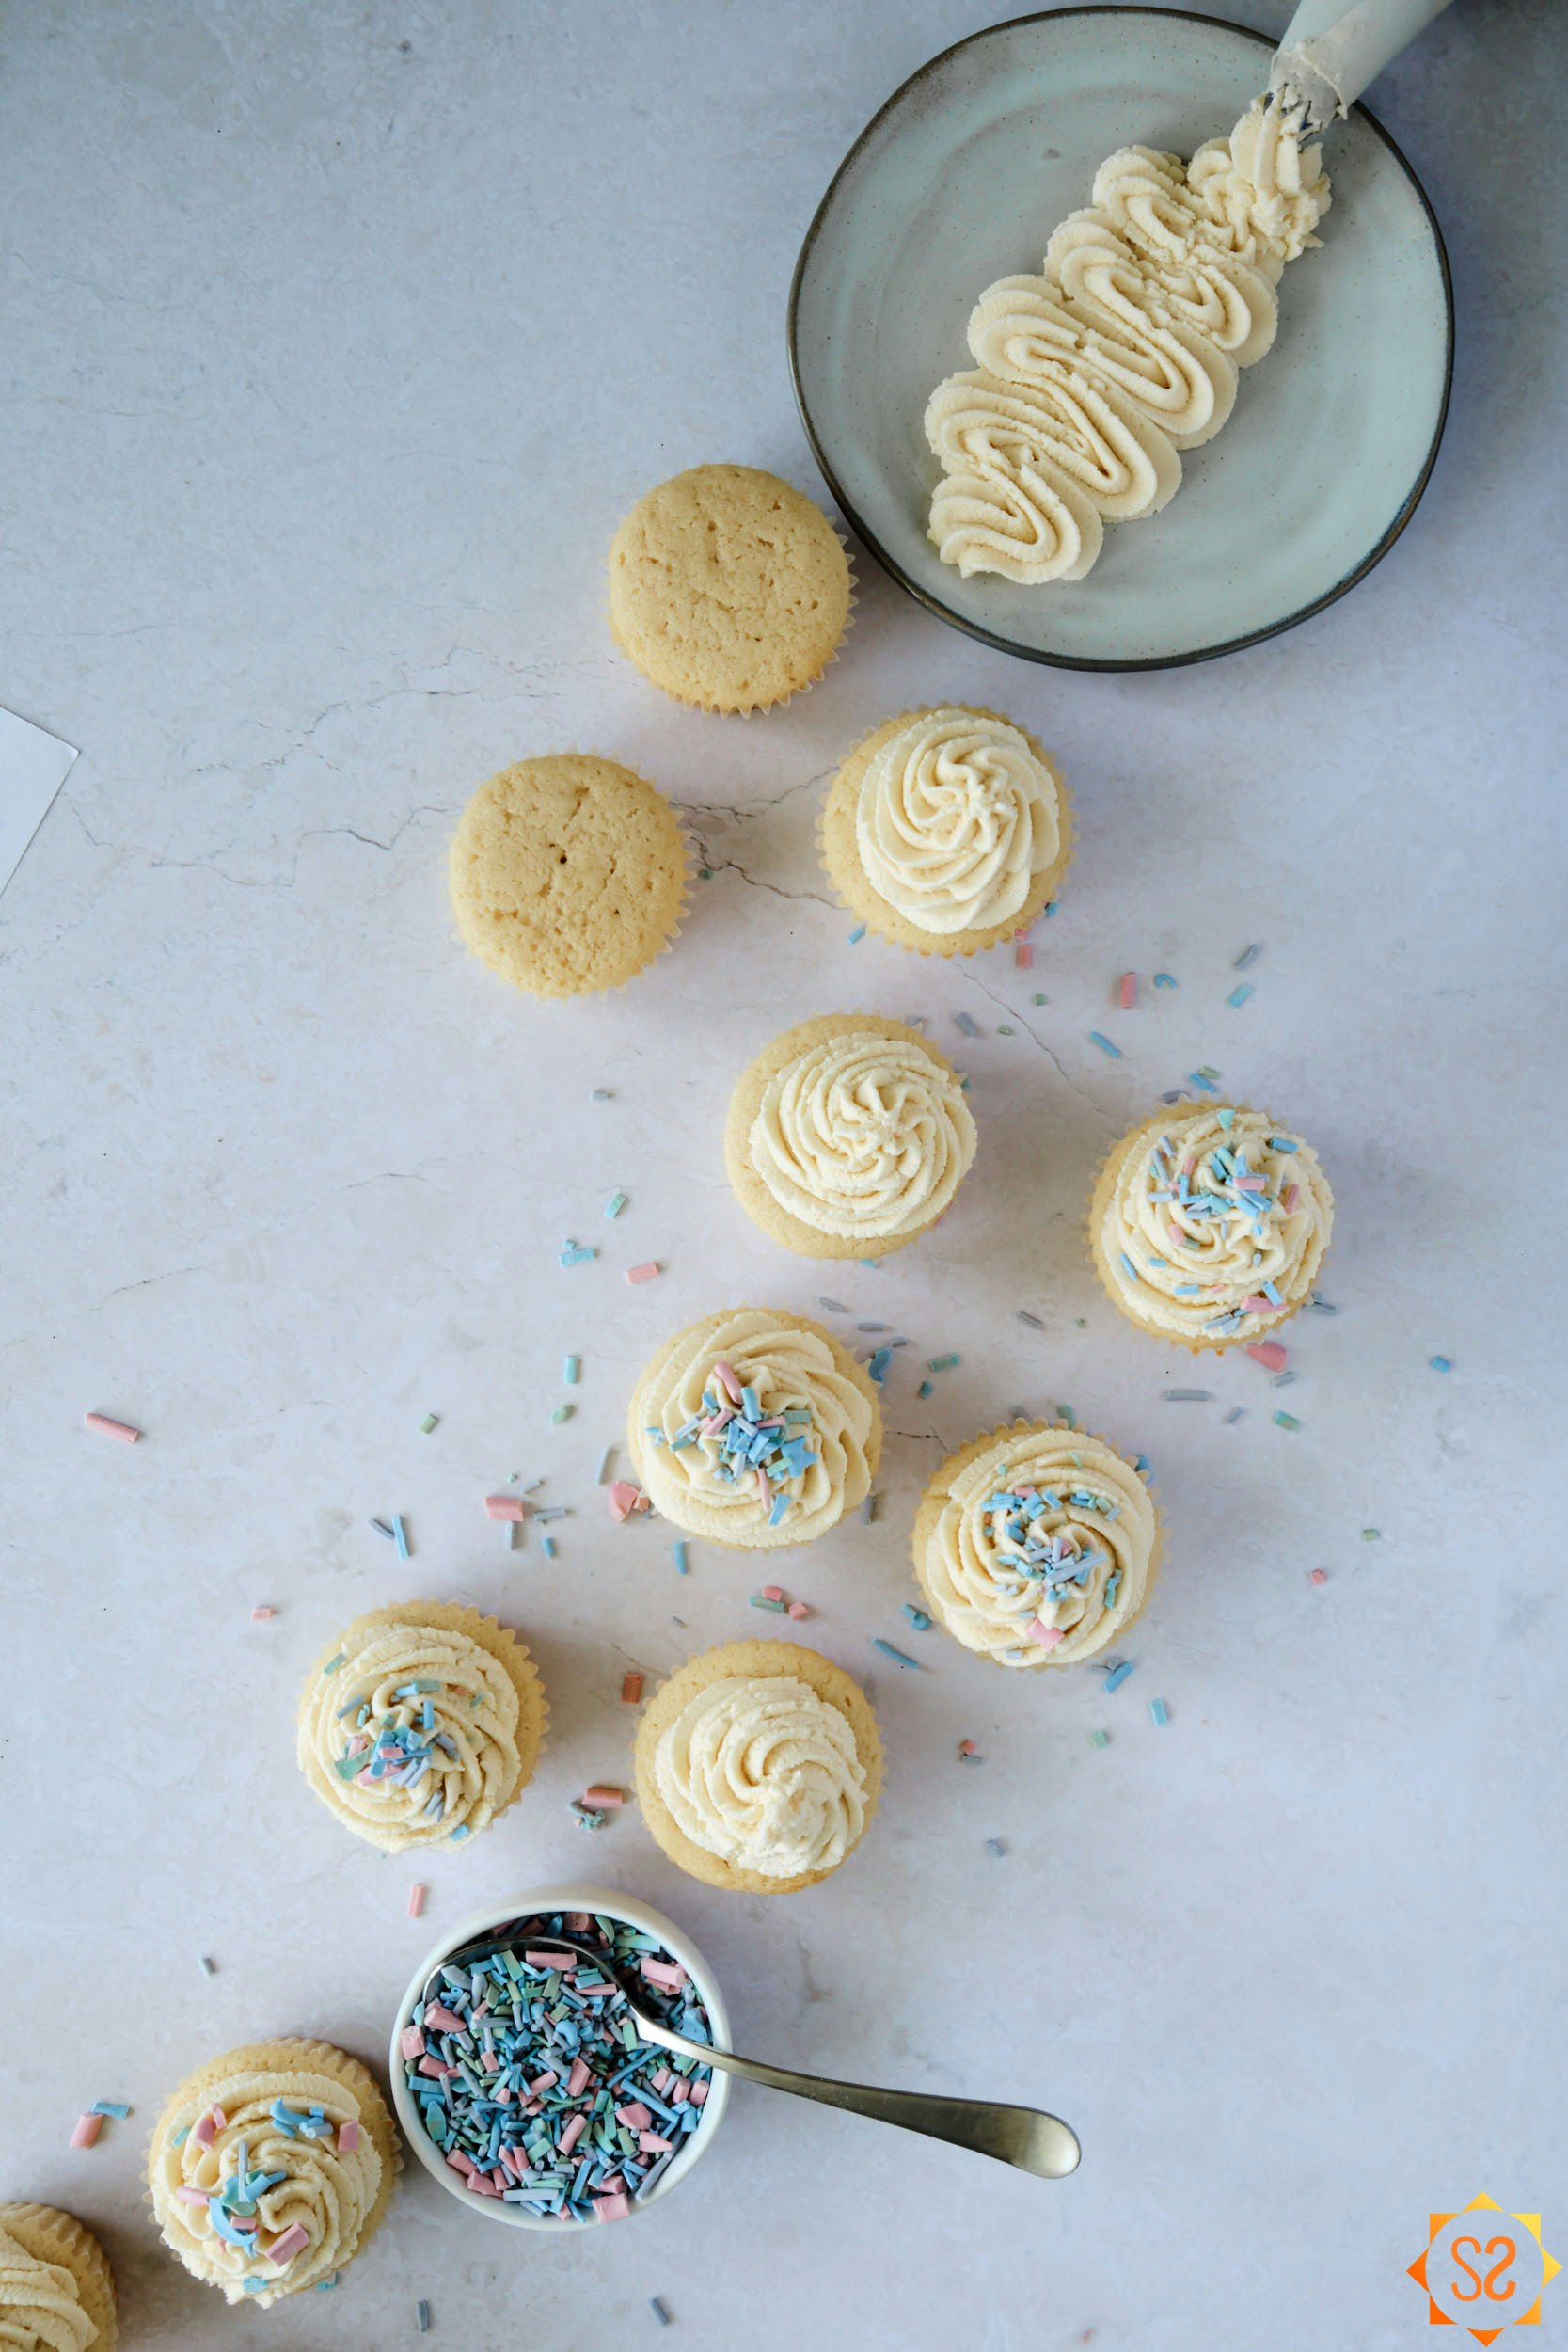
To spatula-frost cupcakes, scoop a bit of buttercream with your spatula, then spread it on top of a cupcake. I generally spread about 3/4 of an inch to an inch of frosting (2-2.5 cm) on top of each cupcake.
To pipe frosting on cupcakes, you'll need to first decide on a style. There are many different styles of cupcake piping, but the most common styles use a star tip or a round tip. With the star tip, pipe the frosting in a circular motion, making smaller and smaller circles until you've created a point at the top. If you're using a round tip, pipe some frosting in the center and keep pushing to allow the frosting to move outwards towards the edges of the cupcake, then repeat with smaller layers on top.
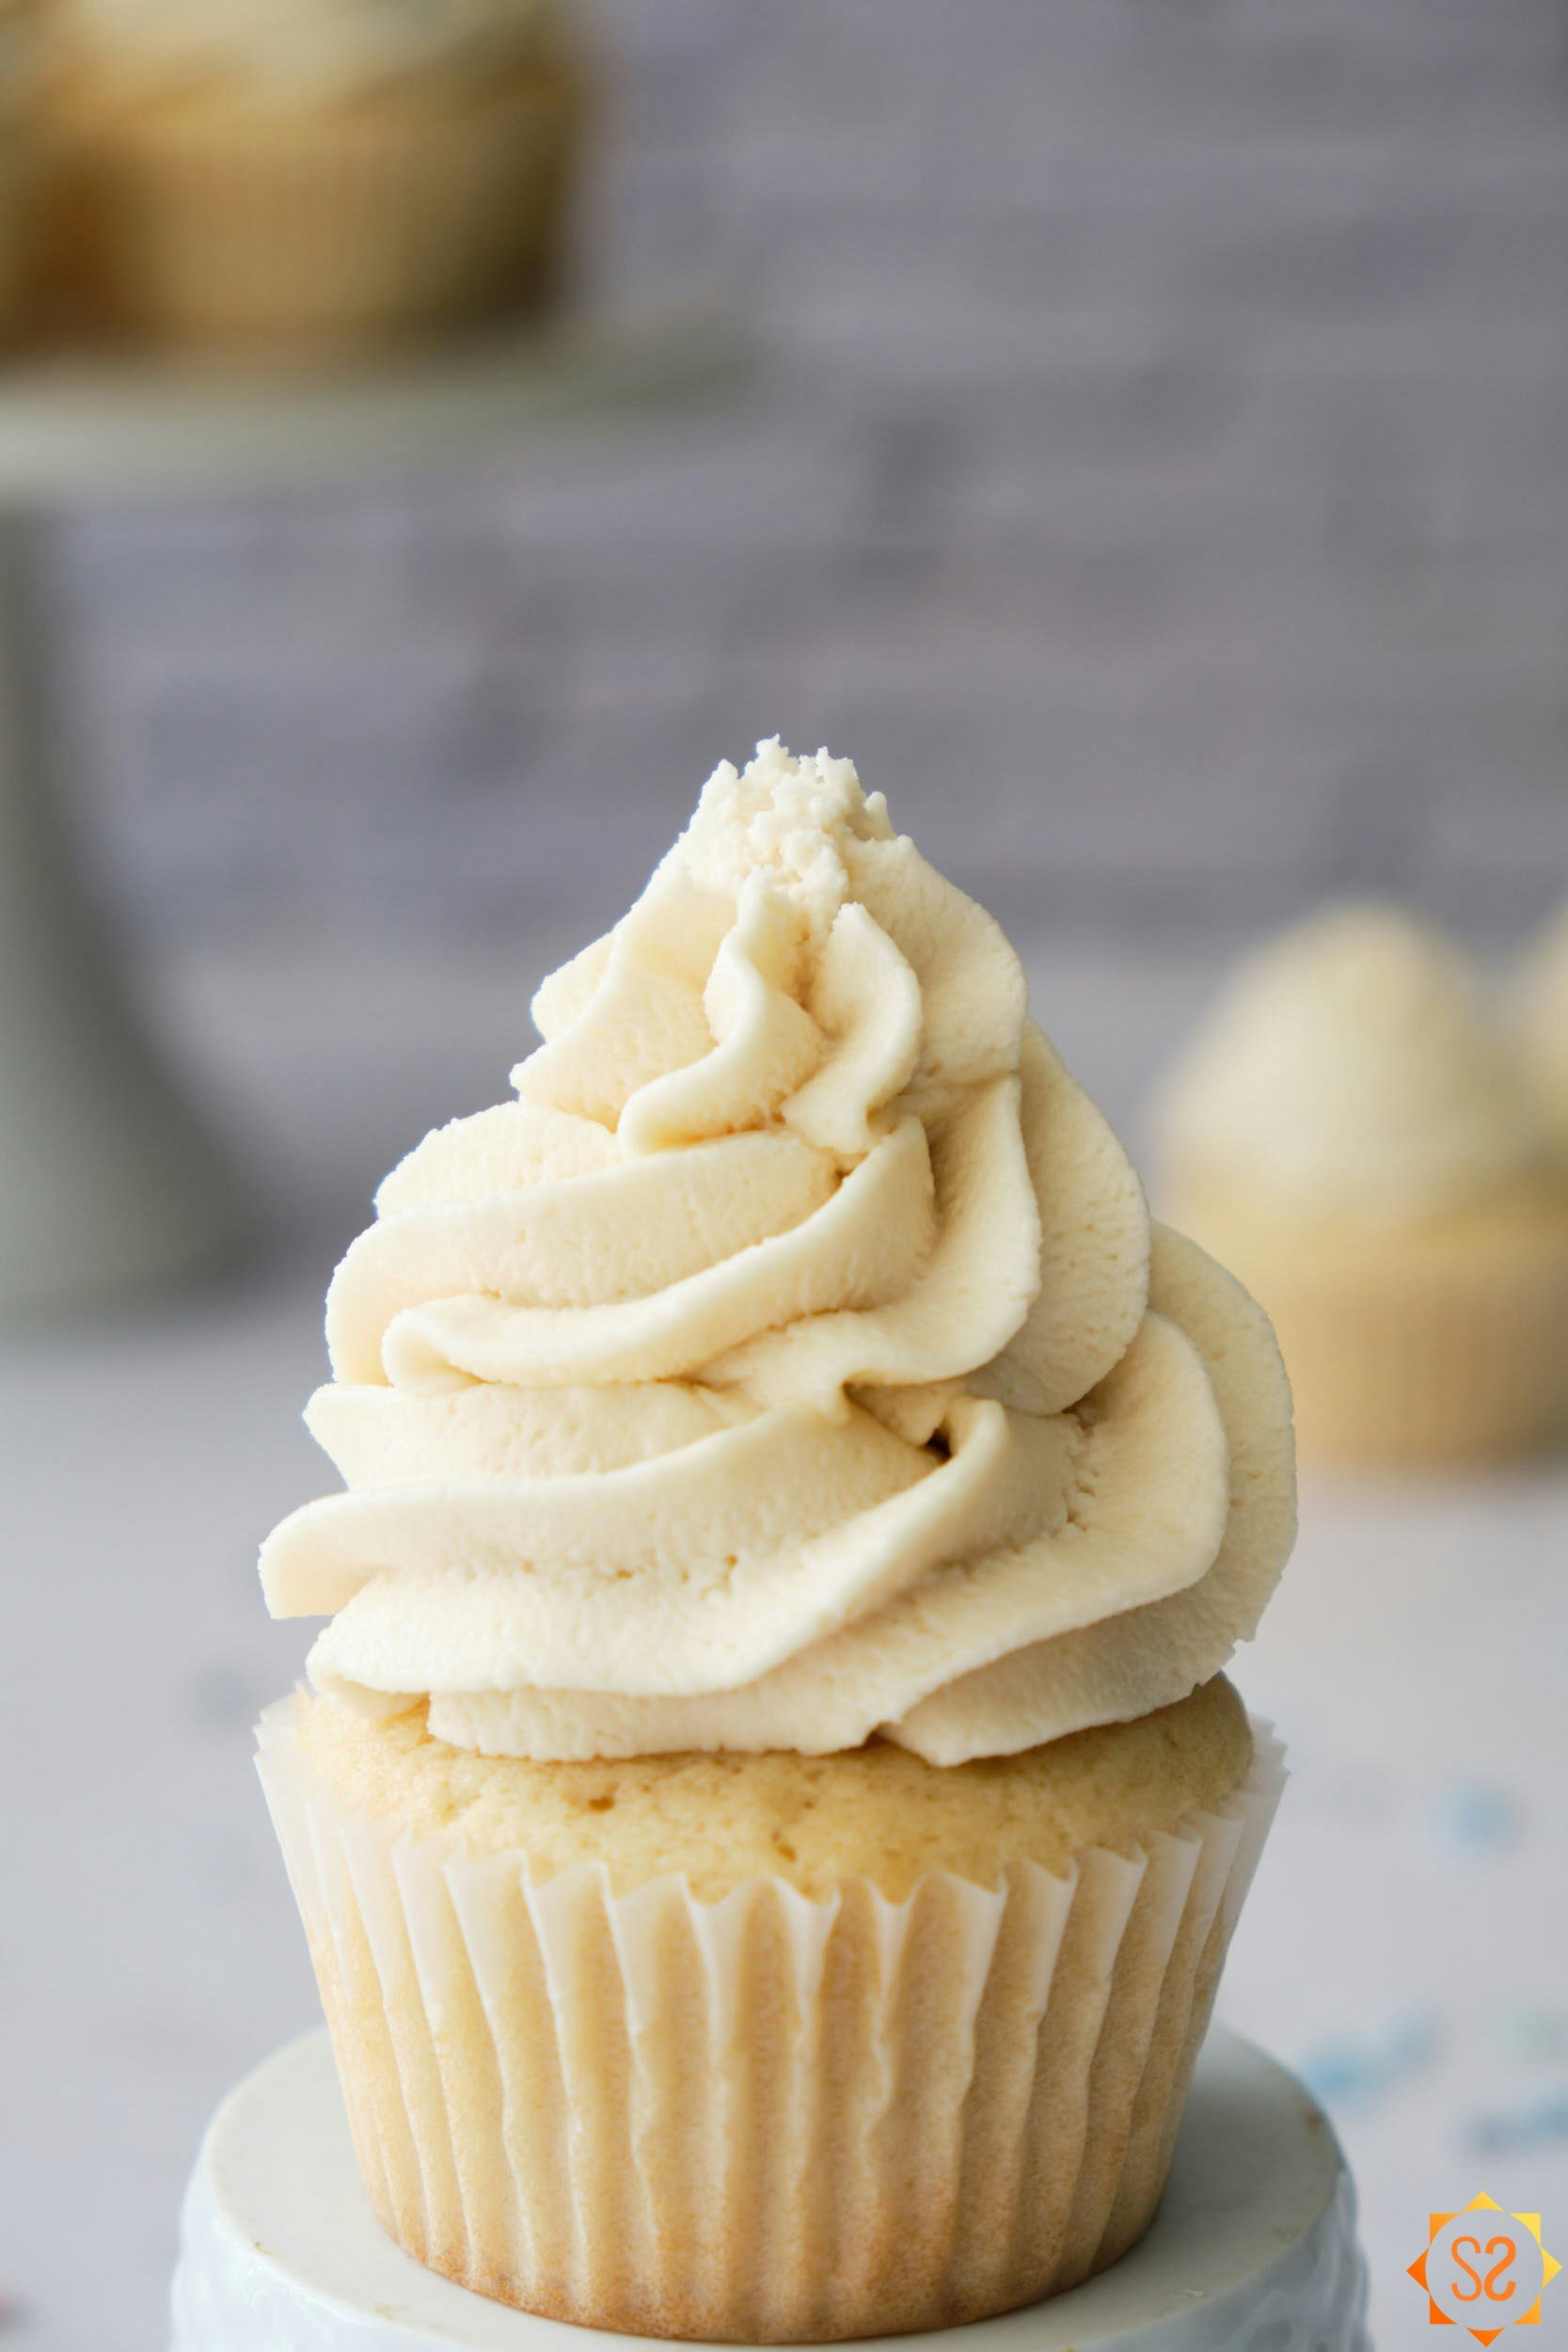
Since it's easier to learn to pipe cupcakes by watching than by reading, I recommend checking out this video by Cupcake Jemma. She suggests that you practice your technique on parchment paper so you can reuse the frosting over and over again until you get it right.
Cupcakes are often topped with sprinkles or other toppings. If you've spatula-frosted your cupcakes, it may be easiest to just dip the frosting right into a bowl of sprinkles. For piped cupcakes, you will probably want to sprinkle your toppings on top to avoid messing up any designs you've piped out.
In addition to sprinkles, I also like to use shaved chocolate, dried coconut, chopped nuts, or crumbled cookies to top my cupcakes.
Vegan Buttercream Frosting Ingredients and Substitutions
This recipe needs only a few ingredients, but if you need some clarification or substitution options, keep reading:
Vegan butter: choose (or make your own) high-fat vegan butter; these tend to be the stick-type, not the spreads. For more recommendations, see the next section. Although I wouldn't substitute the vegan butter with shortening alone, you could also make this frosting with half shortening and half vegan butter. If vegan butter is unavailable in your area, or unreasonably priced, try my homemade vegan butter recipe.
Powdered sugar: The powdered sugar (aka icing sugar, confectioner's sugar) is crucial for the texture and sweetness of the frosting. If you don't have access to powdered sugar, you can blend sugar and cornstarch together in a blender until it reaches a fine, flour-like consistency. Use 1 tablespoon of cornstarch for every cup of sugar. (If you use a blender, check to make sure your blender can blend dry ingredients without liquid).
Vanilla extract: For the best flavor, I recommend using real vanilla extract, not artificial vanilla flavor. Real vanilla has hundreds of flavor compounds, making it more complex than artificial vanilla.
Cashew cream: I prefer using cashew cream instead of unsweetened non-dairy milk because it's thicker. You can use non-dairy milk here as well, but be careful adding it in because it's a lot easier to overdo it and end up with a runny frosting. If you're making your own vegan butter, you will probably have some cashew cream left over to use here. To make cashew cream, blend 1/2 cup pre-soaked raw cashews together with 1/2 cup water.
Salt: If you're using salted butter, you could leave this out. But even when I use salted butter, I like to add salt because it adds to the richness of the flavor.
Vegan food coloring: You can use a liquid, gel, or powder; just make sure it's vegan. If you're using liquid food coloring, add it in before adding your cashew cream or non-dairy milk. You don't want to end up with frosting that's too wet.
Choosing vegan butter for buttercream frosting
I generally like Earth Balance sticks, since they taste great and are relatively affordable. Miyoko's also makes good vegan butter for baking and frosting. The main thing to look for is a high-fat butter that will hold up well at room temperature. Vegan butter spreads generally won't work well in frosting.
If you can't find a good store-bought vegan butter in your area, you can also make your own with my homemade vegan butter recipe.
After you've found or made a good vegan butter, allow it to sit out at room temperature for a bit before you start making your frosting. If you don't, you may end up with buttercream that has a curdled texture.
Color and flavor variations
If you want to color your frosting, make sure that you're using vegan food coloring. Many food colorings have insect-derived ingredients that are not vegan.
You would typically want to use a gel food coloring in frosting to avoid watering down the texture, however, vegan liquid food coloring is much easier to find. So I recommend adding in liquid food coloring before adding in your cashew cream or non-dairy milk. Then, if your frosting still needs some moisture after adding the food coloring, you can add the cream or milk as needed.
This food coloring from Whole Foods Market is the one I use most often.
You can also add cocoa powder, peanut butter, lemon extract, or other flavors to create a different variety of buttercream. If you add a powdered flavor (like cocoa powder), just reduce the amount of powdered sugar by the same amount.
Storing your vegan frosting
This frosting will keep in an airtight container in the refrigerator for up to a week. If you need longer storage, you can freeze it for up to 3 months. To use the frosting after freezing it, defrost it overnight in the refrigerator, then whip it up with your mixer to restore its texture.
Frequently Asked Questions
What's the difference between this frosting and traditional buttercream?
Standard buttercream is made of butter, heavy cream, and powdered sugar. In this recipe, we'll use vegan butter in place of the butter, and cashew cream or non-dairy milk in place of the heavy cream.
Not all powdered sugar is vegan (it is often processed with bone char), but as long as you look for powdered sugar that's labeled "vegan," you're safe. Organic sugars in the US are vegan, so I typically buy Whole Foods' 365 brand organic powdered sugar.
Do I need to use 3 cups of sugar?
I recommend being flexible with the amount of sugar you add. The powdered sugar will help make the frosting lighter and stiffer, so use the amount you need to reach the desired texture.
If you want a lower sugar content, you could certainly use a little less sugar, but the flavor and texture will change. The sugar is there to balance out the buttery flavor and also to keep the texture lighter.
To reduce the sugar, I would personally keep the recipe the same and just use a thinner coating of frosting. If you use one of my cake recipes, you won't need huge amounts of frosting to mask the taste of the cake, because the cake is delicious on its own!
How much frosting should I make for a batch of cupcakes or a layer cake?
The short answer is you should probably make more than you think you need. Leftover frosting can be frozen, so it's better to have extra than to run out in the middle of frosting.
How much frosting you're going to need for a batch of 24 cupcakes will vary widely depending on how much frosting you want to use on each cupcake.
If you want picturesque bakery cupcakes with huge piles of frosting on top, I'd recommend making 2 or 3 batches (4-6 cups of frosting). But for me personally, that's usually way too much frosting to actually eat. I like a nice spatula-frosted layer on top that's maybe 3/4 of an inch thick or less. If you prefer that kind of cupcake, 1 batch (2 cups) should be enough for 24 cupcakes.
For a 3-layer 6-inch cake (or a 2-layer 8-inch cake), you'll need approximately 2 batches (4 cups) of frosting. But you may find that you use more or less depending on how thick you like your frosting to be.
More delicious vegan frosting and cake recipes
Vegan Buttercream Frosting
Yield2 cups
Prep Time20 minutes
Cook Time0 minutes
Total Time20 minutes
Ingredients
- 3/4 cup vegan butter sticks, softened at room temperature (I used Earth Balance)
- 3 cup vegan powdered (icing/confectioner's) sugar
- 1 tsp. vanilla extract
- 1/4 tsp. sea salt
- 1 tbsp. cashew cream* or plain, unsweetened non-dairy milk
- vegan food coloring (optional)
Instructions
In a stand mixer with the paddle attachment on medium speed (or in a large bowl with an electric hand mixer), mix up your vegan butter until it’s soft and creamy. While your butter is being mixed, sift your powdered sugar to eliminate clumps. Turn off the mixer, then add 1 cup of powdered sugar, and slowly turn the mixer back on. (If you start mixing too quickly, your powdered sugar may be kicked out of the bowl). Repeat with the remaining powdered sugar, one cup at a time. Stop to scrape down the sides of the bowl with a rubber spatula as needed.
Add your vanilla, salt, and food coloring (if using) to the bowl and mix until well-incorporated. Add additional food coloring if needed to achieve your desired color.
Add your cashew cream (or non-dairy milk) a little at a time until you reach the desired consistency. Your frosting shouldn’t be too stiff or too runny. It should be spreadable, but it should also be thick enough to stay put when spread on the cake. You may need to use more or less than 1 tablespoon of cream, especially if you added liquid food coloring in the previous step. If you accidentally add too much cream or milk, you can thicken the frosting with additional powdered sugar.
To get a light and fluffy texture, turn your mixer to high speed and let it whip the frosting for a few minutes.
Notes & Hints
Cashew cream is thicker than non-dairy milk and makes a creamier frosting. To make cashew cream, blend 1/2 cup soaked raw cashews with 1/2 cup water until smooth.
When adding cashew cream or non-dairy milk, keep in mind that you may want your frosting to be a bit thicker for layer cakes than for cupcakes, because it needs to hold the weight of the cakes above it.
Because vegan butters can vary in their consistency and ingredients, you may need to adjust the powdered sugar or cashew cream amounts to reach the desired consistency.
If you make too much frosting, it can be frozen in a freezer bag or airtight container. Before using the leftovers, let it thaw overnight in the refrigerator, then whip it in your stand mixer.
For frosting instructions and more FAQs please see the post above.
Nutrition Data
Serving Size: 1/24 of recipe; Calories: 111; Fat: 6 g.; Saturated Fat: 4 g.; Cholesterol: 0 mg.; Sodium: 38 mg.; Carbohydrates: 15 g.; Fiber: 0 g.; Sugar: 15 g.; Protein: 0 g.; Vitamin A: 0 mcg. RAE; Vitamin B12: 0 mcg.; Vitamin C: 0 mg.; Vitamin D: 0 mcg.; Calcium: 0 mg.; Iron: 0 mg.; Potassium: 5 mg.; Zinc: 0 mg.Note: This data should be used only as an estimate. Please see the nutrition section of my terms and conditions for more information on how this data is calculated.
Vegan recipes in your inbox
Join the community and get my newest and best yummy vegan recipes sent right to your email!

Share this:







Leave a Comment
I love reading comments! I'll do my best to answer questions, too. If you made the recipe, please leave a star rating, it helps support the blog so I can make more recipes and articles. Thank you!
says