Detroit-Style Vegan Pizza
Published: January 4, 2021
Modified: January 25, 2024
Let me start by saying that I've never been a big fan of vegan pizzas—especially vegan cheese pizzas—because they usually just taste okay. (However, I do enjoy a veggie-topped pizza with just a little vegan cheese). That's not the case with this pizza. I am not exaggerating when I say that this Detroit-style pizza tastes phenomenal.
Until recently, I never knew that my favorite (non-vegan) pizza was actually Detroit-stye pizza. When I tried it for the first time at Jet's Pizza in Fort Lauderdale, I thought it was just Sicilian pizza. While Detroit-style pizza is actually a descendant of Sicilian pizza, there are a few differences. With Detroit-style pizza, the cheese goes all the way to the edges and forms a crispy browned cheese crust. The sauce is often piled on top of the cheese as well, creating a gooey blend of bread and cheese under the sauce. This "red-top" method of making pizza actually works quite well for vegan pizza, since vegan cheese seems to melt better when it's covered in sauce.

I tested this recipe out with the two brands of vegan cheeses that have worked well on pizza in the past: Violife and Miyoko's. While Violife certainly worked and tasted fine, Miyoko's was superior in every way. It tastes much closer to real cheese, it browns nicely on the edges, it melts, and it is much easier to get out of the pan (the Violife cheese seemed to be glued to the sides and created a bit of a mess on the way out). Because Detroit-style pizza is defined by the cheesy crust, I really recommend using Miyoko's Vegan Mozzarella for this recipe. (Note: Miyoko's Mozzarella has become a little harder to find in my area, but Target carries it. If you have a hard time finding it, try Target!)
Miyoko's Mozzarella comes in the shape of a round disc, but we will want it to be grated. The cheese is very soft, so you should put it in the freezer for 10-15 minutes before attempting to grate it. Otherwise, you'll end up with mashed cheese rather than grated cheese. Even after chilling, the Vegan Mozzarella likes to clump together, so I grated it directly over the dough rather than grating it into a pile and then putting it on the pizza. That allowed me to spread the cheese out over the pizza more evenly.
Miyoko's new liquid mozzarella also works nicely on this pizza with much less work. The edges turn a nice crunchy golden brown. But I don't recommend spreading tomato sauce over the liquid mozzarella because it won't solidify.
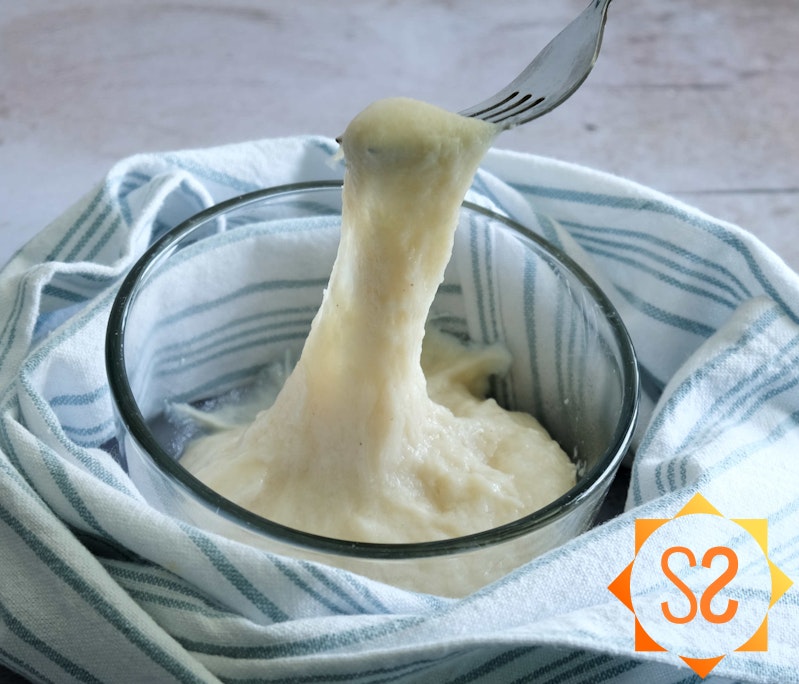
If you want to make your own vegan mozzarella, you can use my recipe. You'll need two batches for this recipe, and you should make the cheese a day in advance so it can firm up enough to be grated. You can also make vegan parmesan to serve on top of the pizza if you'd like.
You can also make your own vegan liquid mozzarella, and use it similarly to the Miyoko's version. Just keep it on top of the tomato sauce and you'll have a perfectly delicious pizza with crunchy browned edges!
For this recipe, you'll need a 10x14" Detroit-style pizza pan, which is a rectangular pan with angled sides. The sides are critical for getting the cheese to melt and brown into a crispy crust. I've seen some recipes suggesting that you could use two 8-inch square cake pans if you don't want to buy the Detroit-style pan, but I can't vouch for that method, personally. This LloydPans 10x14 pizza pan is the one I used in this recipe, and so far it's performed well.
The dough in this recipe can be kneaded by hand, but I highly recommend using a stand mixer with a dough hook. It produces predictable results, and you can work on other things while it does all the kneading for you!
Note that the sauce recipe makes enough for two pizzas. Since the whole tomatoes usually come in 28-oz. cans, the recipe is based on one can of tomatoes. I save the rest of the sauce in a jar until I'm ready to make another pizza!

Detroit-Style Vegan Pizza
Yield12 slices
Prep Time55 minutes
Cook Time45 minutes
Total Time3 hours
Ingredients
- extra-virgin olive oil for pan and fingers
- 8 oz. package of Miyoko's Vegan Mozzarella
Dough
- 2 1/2 cup all-purpose or bread flour
- 1/2 tbsp. salt
- 1 tsp. instant dry yeast*
- 1 cup water
- 1 tsp. maple syrup
- 1/2 tsp. extra-virgin olive oil
Sauce
- 28 oz. can whole, peeled tomatoes
- 1 tbsp. tomato paste
- 1 tbsp. maple syrup
- 1 tsp. garlic powder
- 1 tsp. onion powder
- 1 tsp. salt
- 1/4 tsp. black pepper
- 1 1/2 tbsp. extra-virgin olive oil
- 4 cloves garlic, minced
- 1/2 tbsp. dried oregano
- 1/2 tbsp. dried basil
- 1/2 tsp. dried thyme
- 1/4 tsp. crushed red pepper flakes
Instructions
Add flour, yeast, and 1/2 tbsp. salt to the bowl of a stand mixer with paddle attachment or dough hook, and mix on “stir” setting until combined. Separately, mix water with 1 tsp. maple syrup, then add to the stand mixer. Continue to stir on the lowest speed until the ingredients are just combined, forming a rough ball. If using a paddle attachment, switch to the dough hook. Add in 1/2 tsp. extra-virgin olive oil and stir a minute longer until mixed well. Then turn off the mixer and let the dough rest for 10 minutes.
![Just-combined dough in a mixer with a dough hook]() Pizza dough, just combined.
Pizza dough, just combined.While the dough is resting, generously coat a 10x14-inch Detroit-style pizza pan with extra virgin olive oil. You can use a brush or paper towel to spread it evenly around the pan.
![Hands coating pan in olive oil using paper towel]()
Turn your stand mixer to the 2nd or 3rd setting (low or medium-low) and allow it to knead the dough for about 5 minutes. Remove the dough, shape it into a rough ball, and place it in the center of your oiled pan. Cover the pan with plastic wrap and allow the dough to rise in a warm place until it’s doubled in size (about two hours). You may wish to put some oil on the plastic wrap so it doesn’t stick to the dough as it rises.
![Dough in an oiled pan, with hands covering the pan with plastic wrap. To the right of the pan is the mixer that the dough came out of.]()
While the dough is rising, make the sauce. Add whole tomatoes, tomato paste, 1 tbsp. maple syrup, garlic powder, onion powder, salt, and black pepper to a blender and blend on low speed until large pieces are broken up. Then turn to liquefy setting (or high speed) and blend until smooth.
In a medium saucepan over medium heat, add 1 1/2 tbsp. extra virgin olive oil. Once the oil is heated, add minced garlic, oregano, basil, thyme, and red pepper flakes, and cook until fragrant, about 30 seconds.
![A saucepan with garlic and spices being heated in oil, with a hand holding a wooden spoon to stir.]()
Add your tomato mix from the blender to the saucepan and mix well. Bring to a slow boil over medium heat, and continue to cook for about 30 minutes, stirring occasionally, until the sauce has thickened and reduced to about 2 cups. (As each stove is different, adjust the heat level as needed; if it’s boiling quickly, reduce the heat.)
![Pizza sauce in a saucepan with a hand using a wooden spoon to stir it]()
Preheat the oven to 500 degrees Fahrenheit. Remove the plastic wrap from the pan with the dough in it, then use some extra-virgin olive oil to coat your fingers. With oiled fingers, stretch the dough out to the edges of the pan, being careful not to tear the dough, and keeping the dough as even as possible. Try to avoid creating a thicker crust at the edges. You may need to stretch the dough a little beyond the edge of the pan so that when it pulls back it reaches the edge of the pan. However, if the dough won’t stretch without tearing, let it rest for 10 minutes, covered, and try again. Once the dough has been stretched, cover it with plastic wrap again and let it rise another 20 minutes.
![Hands stretching out the pizza dough to the edges of the pan]()
While the dough is rising for the second time, toss your Miyoko’s Mozz in the freezer to harden up a bit. Once the dough is ready, remove the plastic wrap and grate the cheese directly over the pizza dough, using the large holes on a box grater. Try to distribute the cheese evenly over the pizza, and make sure the edges have plenty of cheese as well. The cheese should melt and brown against the sides of the pan to create a crispy pizza edge. Feel free to redistribute the cheese by hand if it didn’t land evenly with the grater.
![Grating vegan cheese over the pizza dough]()
Spread about 1 cup of sauce on top of the vegan mozzarella (set the rest aside for another pizza). Some people like to spoon the sauce out in thick lines, creating some areas with sauce and some without. You can also spread the sauce evenly if you prefer.
![Hands using a spoon to spread sauce across the top of the pizza.]() To create "lines" of sauce, I used a measuring cup to pour the sauce, then used the back of a spoon to spread it out.
To create "lines" of sauce, I used a measuring cup to pour the sauce, then used the back of a spoon to spread it out.Bake your pizza at 500 degrees Fahrenheit for 13-14 minutes.
Carefully scrape the sides of the pizza so that none is clinging to the pan. Put one spatula under each end of the pizza, and lift the pizza out of the pan and onto a large cutting board. Using a pizza cutter, cut the pizza into 12 slices (3 x 4), or as desired. Top with basil, red pepper flakes, and/or vegan parmesan to serve.
![Using two spatulas to remove the pizza from the pan and transfer it to a cutting board.]()
Notes & Hints
The dough in this recipe can be kneaded by hand, but I highly recommend using a stand mixer with a dough hook. It produces predictable results, and you can work on other things while it does all the kneading for you!
The sauce recipe makes enough for two pizzas. Since the whole tomatoes usually come in 28-oz. cans, the recipe is based on one can of tomatoes. I save the sauce in a jar until I'm ready to make another pizza!
Miyoko's Vegan Mozz is very soft, so you should put it in the freezer for 10-15 minutes before attempting to grate it. Even after chilling, the Mozz likes to clump together, so I grated it directly over the dough.
Be sure to use instant dry yeast, not active dry yeast. Active dry yeast needs to be activated in warm water, but instant dry yeast will work in cold water.
Nutrition Data
Serving Size: 1/6 of recipe; Calories: 371; Fat: 14 g.; Saturated Fat: 7 g.; Cholesterol: 0 mg.; Sodium: 1158 mg.; Carbohydrates: 54 g.; Fiber: 2 g.; Sugar: 6 g.; Protein: 8 g.; Vitamin A: 0 mcg. RAE; Vitamin B12: 0 mcg.; Vitamin C: 4 mg.; Vitamin D: 0 mcg.; Calcium: 66 mg.; Iron: 2 mg.; Potassium: 388 mg.; Zinc: 0 mg.Note: This data should be used only as an estimate. Please see the nutrition section of my terms and conditions for more information on how this data is calculated.
Vegan recipes in your inbox
Join the community and get my newest and best yummy vegan recipes sent right to your email!

Share this:


Leave a Comment
I love reading comments! I'll do my best to answer questions, too. If you made the recipe, please leave a star rating, it helps support the blog so I can make more recipes and articles. Thank you!
says